| BUTTERFLY SPARKLE I wrote this tutorial on April 6th 2008. This is my own creation any resemblance another tutorial is coincidental. The image I'm using is from Keith Garvey. Do not use unless you have a license to use his work you can purchase a license here. All other supplies I have gathered from various sources. Supplies Font Cursive - Elegant Mask WSL_Mask 94 Filter Xenofex 2 Constellation Supplies on the supplies board. Lets start. Open a new canvas 600 x 600 transparent. Flood fill with white. Don't worry we will resize later. Add a new raster layer and flood fill with #C5EAEC. Apply your mask with these settings. 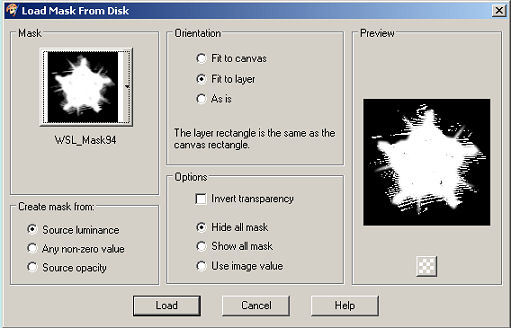
Merge group. Open your white lace and copy and paste as a new layer on your working canvas. Drop shadow with these settings. 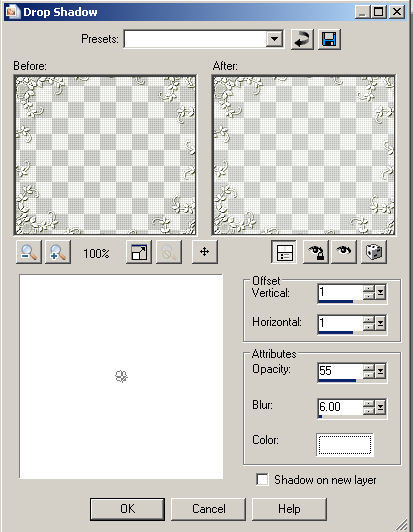
Open your pink lace and copy and paste as a new layer on your work canvas. Repeat the drop shadow. Open the hanging hearts and choose one copy and paste as a new layer on your work canvas. Go to adjust hue and saturation colorize use these settings. 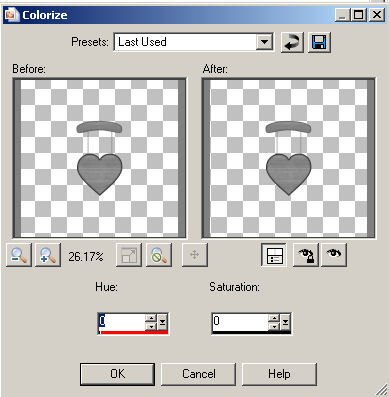
Then go to adjust Brightness/Contrast with these settings. 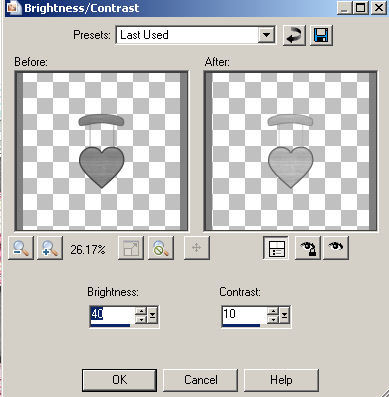
Set your foreground color to #FEE0EC, choose your change to target brush and colorize your heart pink. Drop shadow these settings. 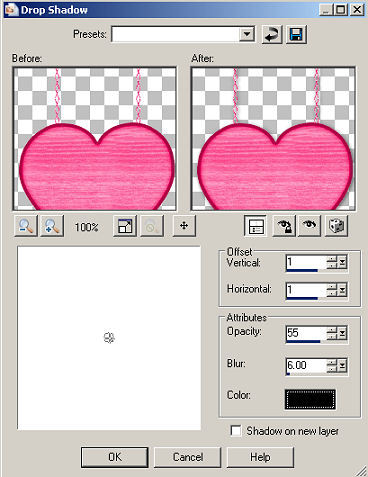
Open your bows and choose the aqua bow copy and paste as a new layer on your work canvas. Move to top of hanging heart look at my tag for example. Colorize with #C5EAEC. Repeat dropshadow you used on the heart. This will be the dropshawdow you will use throughout the rest of the tutorial. Set your background color to black then click on your text tool choose cursive-elegant size 24. Type out a saying or use mine "Best Friends Forever". Convert to raster layer, dropshadow. Change your blend mode on this layer to Burn. Copy and paste your tube as a new layer resize 80%. Move to the left side of your tag look at my tag for example. Dropshadow. Open your butterflies, choose the blue butterfly copy and paste as a new layer move to the top of your tag look at my tag for example. Dropshadow and then duplicate your butterfly. Move to the right of your heart. Go back to your butterflies and choose the mauve butterfly. Copy and paste as a new layer move just below and to the side of your top blue butterfly. Look at my tag for example. Dropshadow your butterfly. Duplicate and move you butterfly toward the bottom of your tag. You want your butterflies to form a half circle around you tag. Close off all layers except for your butterfly layers. Merge visible and rename butterflies. Open all your layers again. Duplicate your butterfly layer 2 times. Click on your original butterfly layer. Go to effects and choose your Xenofex 2 Constellation with these settings. 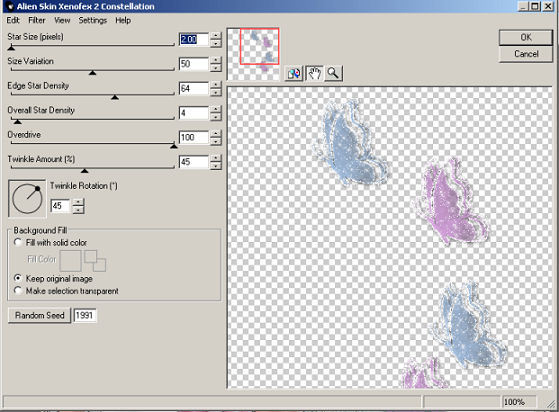
Click ok. Close off that layer and highlight your second butterfly layer. Apply constellation and hit random seed once. Close off that layer and highlight your third butterfly layer. Apply constellation and hit random seed once. Set your foreground color to Black and your background color to #BE97C5. Choose your text tool cursive-elegant size 72 stroke 1. Type out your name. Convert to raster layer and apply dropshadow. Apply your proper copyrights and watermark. TIME TO ANIMATE Make sure your first butterfly layer is open. Hide butterfly layers 2 and 3. Copy merged your tag and paste as a new animation in animation shop. Back in PSP hide butterfly layer 1 and open butterfly layer 2 copy merged and paste after current frame in animation shop. Back in PSP hide butterfly layer 2 and unhide butterfly layer 3. Copy merged and paste after current frame in animation shop. Resize your animation by 85%. View animation and if happy save as gif. I hope you have enjoyed my tutorial. Would love to see your results. Page Assembled By Tammy S.
Page and Tiles © Keith Garvey MPT3782
Page made exclusively for 4muskeeterspsp do not use in another group
HTML By SnowKat @ Creative Elegance | 
 Important Announcement