| 1. | Click on New | 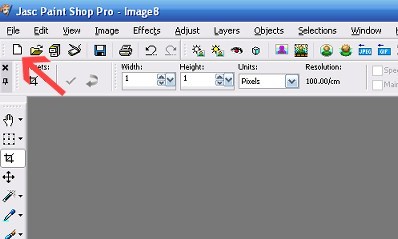
|
| 2. | New Image
Width 400
Height 400
Units Pixels
Raster Background
Color depth: 16 million colors
Make sure Transparent is checked
Click on ok | 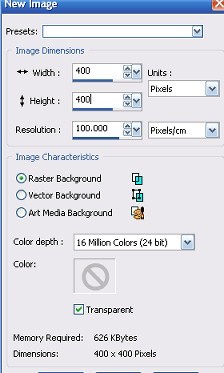
|
| 3. | Right click on GA_Slats_Wave.tub and select copy
Close the GA_Slats_Wave.tub (we are finished with it now) | 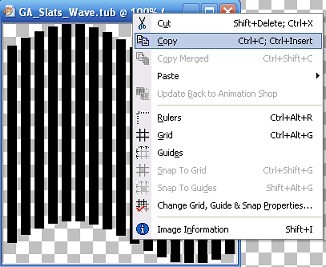
|
| 4. | On your new image, right click and select paste > paste as new layer
This will automatically centre your slat tube on your new image. | 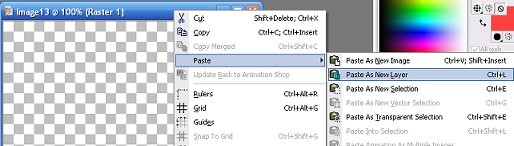 |
| 5. | Have both images - your new image with the slat tube and the pansy tube open on your workspace - place them side by side. | 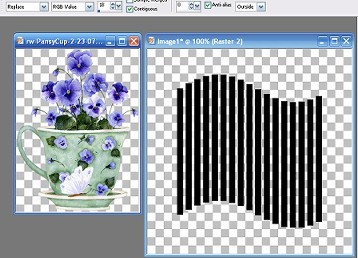 |
| 6. | Left Click on your colour dropper tool | 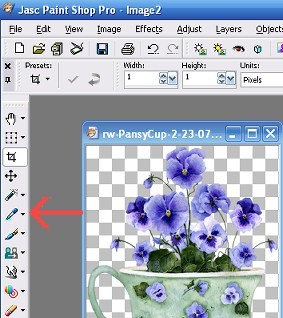 |
| 7. | Hover your cursor over your pansy image, when you have a preview of a nice dark colour left click on your mouse. Hover your cursor again and when you have a preview of a light colour - right click your mouse. | 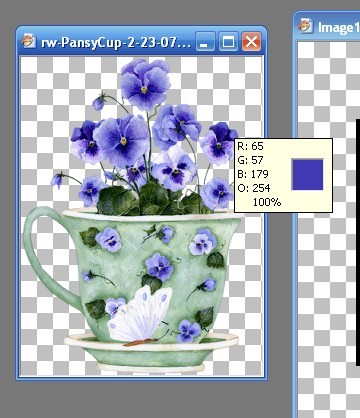 |
| 8. | Both colours should appear in your materials pallette | 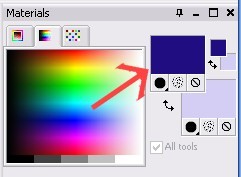 |
| 9. | Click on the title bar of your slat tube image.
On top menu bar go > Selections > select all
then:
selections > Float
then:
selections > defloat
you should have "marching ants" around your slats | 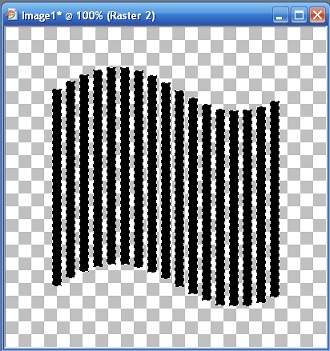 |
| 10. | Now click on your flood fill tool, go back to your slats and left click on a slat. Your slats should be filled with your pale colour. | 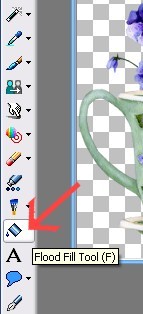 |
| 11. | Right click on the title bar of your pansy image and select > copy, back to your slats, right click and select > paste > paste into selection.
You should have something like this:
Go to Selections > Select none
You can close your pansy tube now | 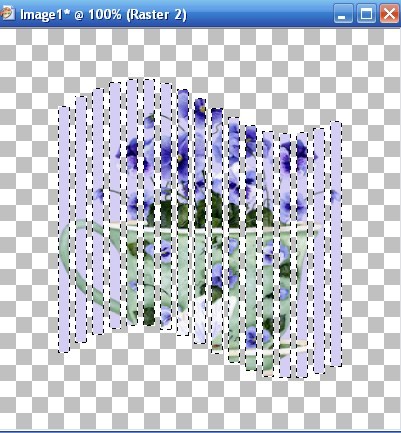 |
| 12. | Go to Effects > 3d effects > drop shadow and use these settings: Vertical -2
Horizontal 10
Opacity 78
Blur 16
Colour Black
Click on ok | 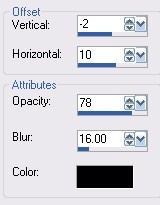 |
| 13. | Right click on title bar of slat image and select > paste > paste as new layer (pansy tube will still be in memory)
Click on your mover tool | 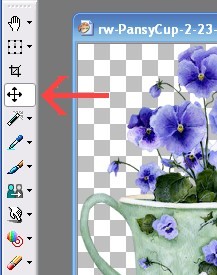 |
| 14. | Left click on the new pansy tube that you just pasted and drag it down a bit and slightly to the left, effects > 3d effects > drop shadow (same settings as before).
Go to top menu > Layers > merge > merge all flatten | 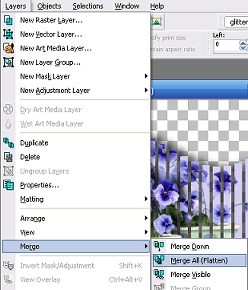 |
| 15. | Thats it, export as jpeg and you have your tag ............ your done, in part 2 we will add your name | 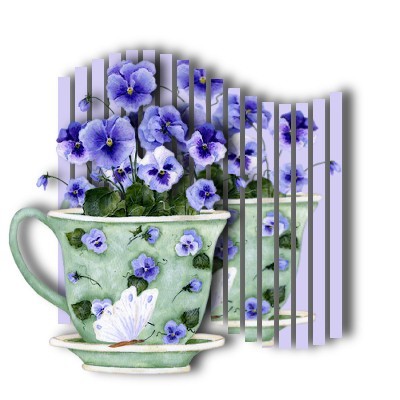 |

 Important Announcement

 First
First 