| 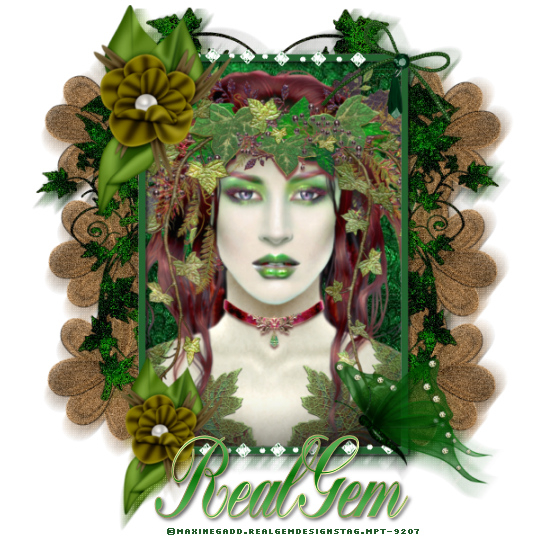
I have used the Beautiful Artwork of Maxine Gadd which you can purchase from MPT Here You may use any safe tube or image you have. Scrapkit used was designed by Jessica sadly I have lost the link to her site but I have included her cover in the supplies Supplies HERE Ok Lets Get Started Open a new transparent image 620x620pixels and then flood fill with white Open the Gem frame and paste as a new layer using your selection tool set on rectangle draw out the the frame as below 
Copy and Paste the Paper as a new layer then up to selections on top toolbar and click invert then hit delete on your keyboard Leave the selections running and then copy and paste your tube or image as new layer then click on your tube layer hit delete on your keyboard to remove any excess up to selections and select none Now open the e Bling copy and paste as a new layer up to image and free rotate 90 degrees to the left then layers duplicate and place one at the top and the bottom of the frame Now copy and paste the butterfly as a new layer then copy and paste Ebow as a new layer move both images to the right hand side Now copy and paste the e flower as a new layer place to the top left then up to images duplicate then images resize by 80% smart size all layers unticked and move the smaller flower to the bottom left hand corner Now go along and add a drop shadow to the frame the butterfly the flowers and the bow of H and V both1 50% opacity blur 5.00 Once you are happy with all your placements close off your white layer and merge visible on all other layers. Layers under your frame are Now open the E Ivy and paste as a new layer you need to make one for each side and then add the ivy again up to image and flip and place this one at the top Now open the flower with stem and place one on each side Then open the flower without stem and duplicate so you have 2 on each side once you are happy with your placements close off your white layer and merge visible. Now up to image and duplicate your merged image up to adjust and blur then gaussian blur radius 15 then to effects texture blinds with these settings Width 2 Opacity 30 colour black horizontal and light from left/top clicked Move this layer under so it sits like a mask Now up to Image resize by 90% Smart size all layers ticked and you are now ready to add your credits and Name Hope you enjoyed this tut Text | 
 Important Announcement

 First
First 