| 
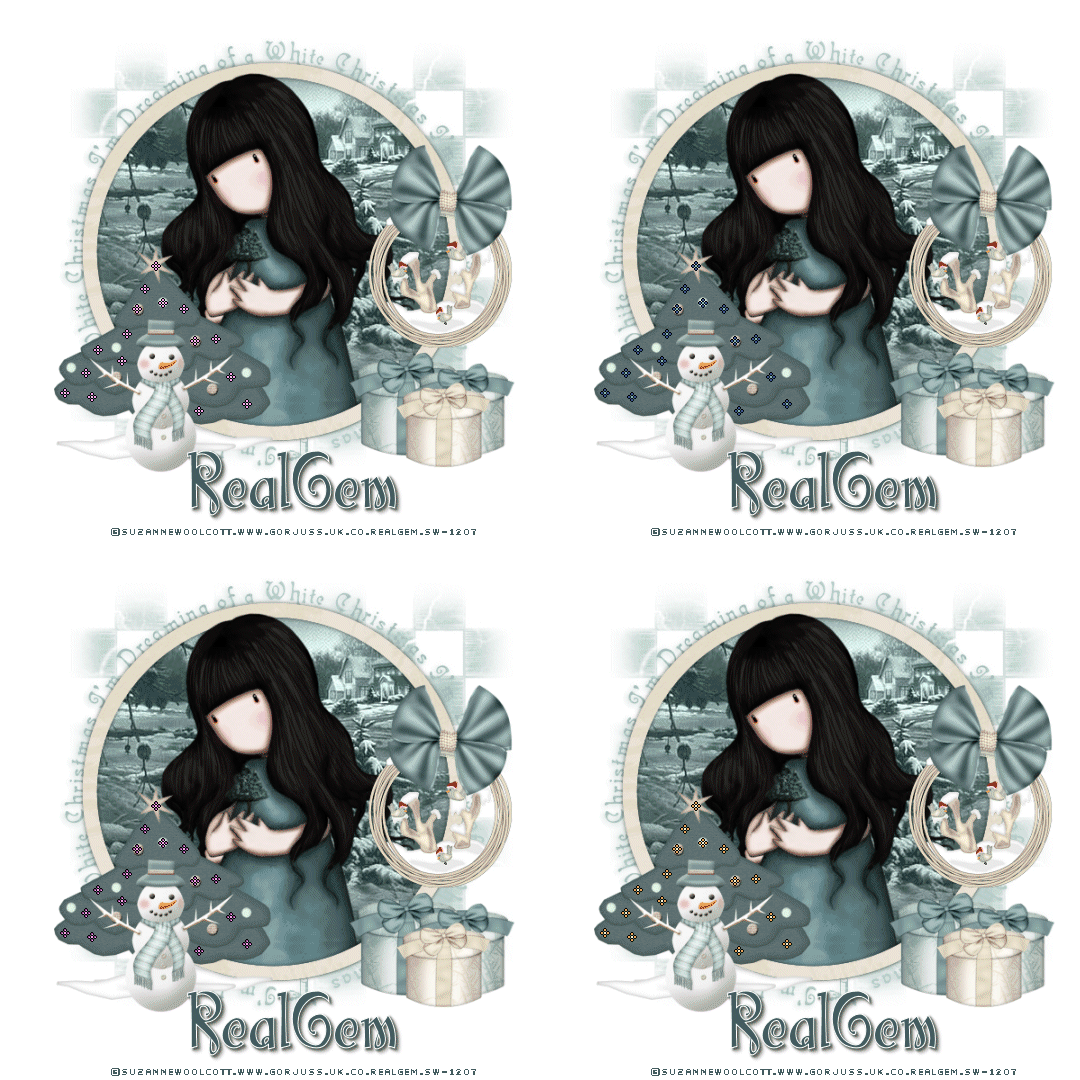
I am using the Beautiful art of Suzanne Woolcott which you can purchase HERE Scrapkit By Bluedream Designs which you can download from HERE The kit is called Snow Blue My Supplies HERE Ok Lets get started Open a new transparent image 600x600pixels and then flood fill with white Open the Gem mask Layer and paste as a new image Then Paste the Graphic Image and paste to the middle of the mask layer up to your layer palette and change the image layer to luminance Now copy and paste the Gem circle on top now if you are using the same tube as me you will need to paste your tube on to the frame section and move the tube layer under the frame then duplicate the tube layer and bring to the top now you will need to use your eraser tool to remove any excess that is showing on both tubes Once you are happy with that it is time to work on the elements Open the snow wreath and resize to 35% smart size all layers unticked and place to the right of your image Then open the Bow 1 and resize to 30% smart size all layers unticked Now the Gifts I resized the blue gift to 30% smart size all layers unticked then duplicated it and resized the duplicated gift to 95% then I used the Gift 2 and resized to 25% Now remember you will need to arrange your layers so everything sits correctly Now Open the Tree 3 and resize to 50% smart size all layers unticked and then finally the snowman to 35% I went along and added a drop shadow to everything but my Suzanne tube of V1 H-1 opacity53 blur 3.00 colour black (Drop shadow is effects 3d dropshadow) Once you are happy with everything merge all layers visible and resize to 90% smart size and tick Maintain Original Size Now you are ready to add your credit layer and your font I have included the font I used If you do not wish to animate your tag is now ready Animation Edit copy and paste your image into animation shop as a new layer Open the animation I have included you will need to duplicate your tag to 4 then use the slider set the tag back to frame 1 and the same on the animation Click on the animation edit select all copy Click on your Tag edit select all paste into selected frame Now you need to keep repeating paste into selected frame to put as many of them as you wish on your tag. Once you are happy up to animation frame properties and change from black to opague colour white View view animation then save as a gif file I hope you have enjoyed this tut Tut written 30 Nov 2008 By RealGem Tut Registered with TWI
PageTagTilesByRealGemOwnerofPSPRealmsOfFantasyArtworkSuzanneWoolcott |  Free Forum Hosting