Working with Kang Filters to produce patterns, ribbons and circular photoframes
Here are some of the many possibilities of creating patterns and elements using these great freeware filters. If you find more methods please add to this thread.
Where to get the freeware filters ~
http://www.photoshop-filters.com/html/kang.htm
Note: when you unzip them to your plugin folders, a self extracting file appears. Click on that to extract the filters and then you can delete the other file.
I used this garden picture from http://www.freefoto.com (c) FreeFoto.com
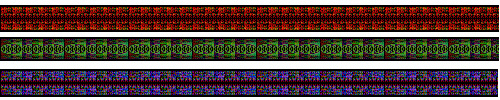
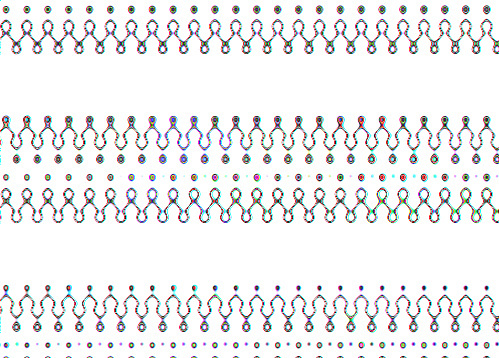
1. Kang 2/2 Cool Bars. You can get decent ribbons by using this filter! Apply Cool Bars to your photo, turning up the top 2 settings as high as you can to 255. You'll get a variety of bars. Select any of them by using the rectanglar selection tool, copy and paste onto a new workspace. Duplicate the layer, Image, Flip. Then carefully move one bar against its duplicate. Layers, Merge, Merge down. This is a good thickness of ribbon. You can make it longer by duplicating and carefully moving across horizontally, don't forget to increase the canvas size first.

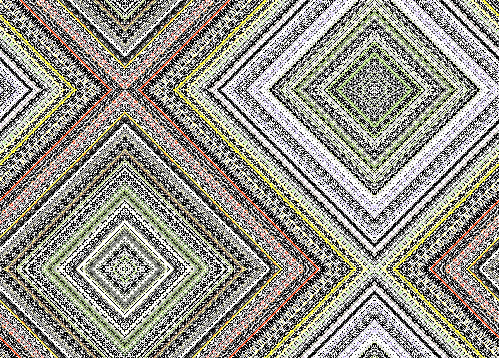
2. Kang 2.16 The Grand Design. You get striped patterns that resemble knitting. I made this one by moving the thickness bar up a bit. Then Simple Filters, Diamonds and then Central Tile. (http://www.btinternet.com/~cateran/simple/)
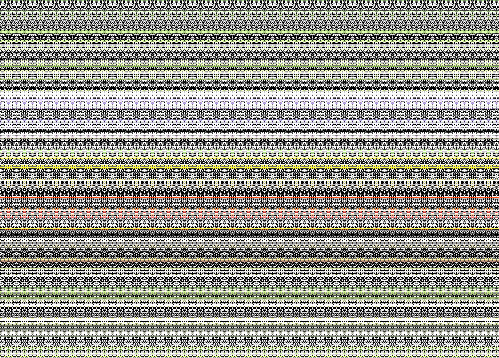
3. Kang 3.1 Drop that Octopus. The basic setting gives rows of looped stitches with eyelets. Promote the background layer to raster and then you can use the magic wand on tolerance of 10 to select and remove the white colour, leaving you with the useful bits!
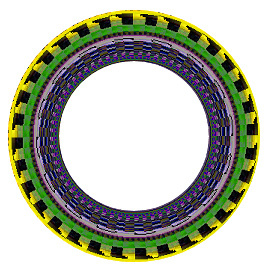
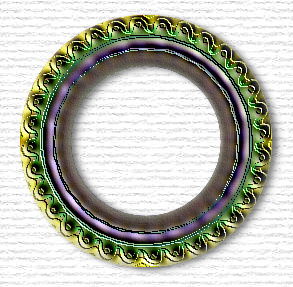
4. Kang 1.10 Patch Wheel. Make circular picture frames with this one! Apply the filter on its basic settings. Then promote background to raster layer. Add another layer and drag to bottom. Back on the wheel layer, Image, reduce size by 75%. Then using the circular selection tool, place pointer in the middle of the wheel and draw outwards to where you want your frame to stop. Then, Selections, Invert, and delete the excess stuff. Crtl D to deselect. Do the same circular selection for removing the inner part but don't invert. This leaves you with a frame which you can apply any effects to. I used Effects, Artistic, Enamel 20/16/16 Angle 45, color white. In other words ~ our Jewel setting! It looks really good for very little effort.


 First
First 