| 
Ok Here We Go Lol This one is going to be really easy as I have made all the animation work for you as I know many of you do not have the required paid plugins Supplies HERE We are using the awesome artwork of Alan Ayers now I have included in the supplies A version of the tube that I resized and cleaned to fit the tag but you are welcome to work on the actual image yourself I am afraid my eye disease makes it hard for really fine tube work now The mask I used orginally is from Wee Scotslass All Other supplies were created by Me Image used from FreePhoto.com Here we go Open a new transparent image 540 x540 pixels Flood fill the layer with white Open the Gem mask and paste as a new layer Open the Gem mask 2 and place as a new layer Open the Gem word art as a new layer now you will need to arrange your layers so the first mask is on the bottom then the Mask 2 then Word art is on the top Move all the layers up quite close to the top as in preview below 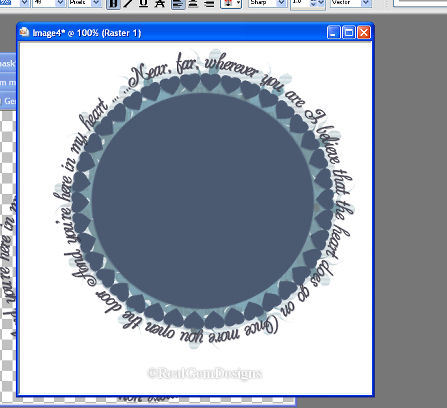
Now add your credit layer for the Artist and Your Own Taggers Credits Then add your name as you wish it to be I used the font called Cotillion Once you are happy with all your placements Go up to Image and Resize all layers ticked by 90% bicubic Up To Layers Merge all flatten Up to edit copy and then paste into animation shop as a new image Now using your browse open the Gem animation and the Gem worked Alan Ayer tube You need to duplicate the Merged Image you have made to 10 Frames You need also to duplicate the Alan Ayers to 10 frames Make sure when you have duplicated all the images to 10 you set the slider on each image to frame 1 Now click on the Gem animation scene up to edit select all copy Click on the Merged Image(Your Tag) up to edit select all paste into selected frame Now click on the Alan Ayers Tube edit select all copy then click on to your working image edit select all and paste into selected frame now you need to move the tube into place if you don't do it the first time just go up to edit and click undo paste and repeat the paste into selected frame until you have it where it needs to be Now once you have everything in place Up To Animation on top tool bar animation properties change from transparent to opaque and make the colour white then click ok Then up to edit and select all now back over to animation and choose frame properties and set the frame speed to 20 click ok Now Up to View and View animation you are now ready to go to file and click save as a compuserv gif Hope you have enjoyed the Tut PageTagTilesByRealGemOwnerOfOurPSPHangout
.ArtworkByAlanAyers | 


 First
First 