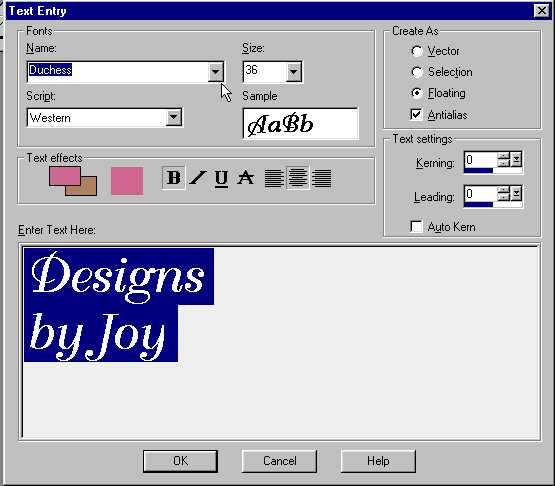
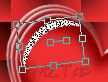
Let's add our text.
Stroke and fill set at white.
Font: Marnie Regular or one of your choice.
Size (depending on the length of your name), Bold.
Vector and Antialias checked.
Using your mouse, move and pull/push the sides, angle
and top of your name.
(Make sure your text stays on the heart.)
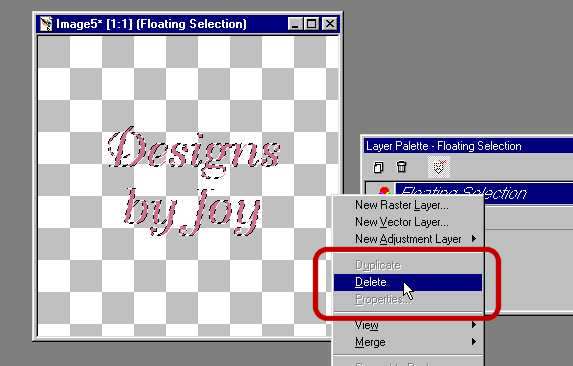
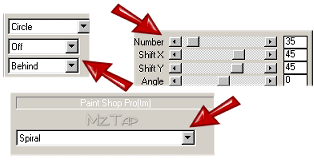
Go to Layers>Convert to Raster Layer.
Effects>PlugIns>EyeCandy3.1>Inner Bevel.
Bevel Width: 40
Bevel Shape: Button
Smoothness: 4
Shadow Depth: 0
Highlight Brightness: 10
Highlight Sharpness: 48
Direction: 34
Inclination: 55
OK.
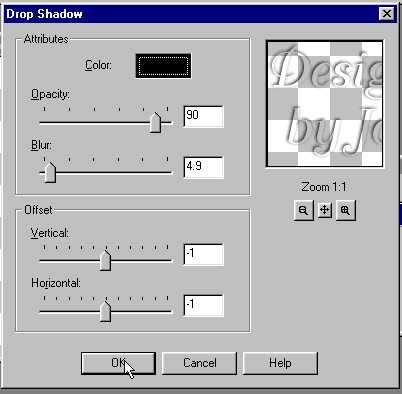
Effects>3D>Drop Shadow
Vertical: 2
Horizontal: 2
Opacity: 95
Blur: 3
Color: #850202
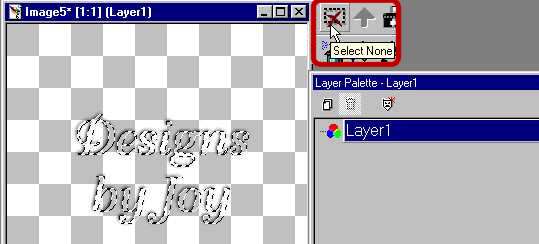
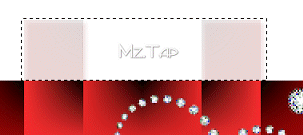
Add a new layer, flood fill with white,
and send to the bottom.
*If you find semi-transparents blocks,
make sure that you are on the merged (toadies) layer,
and select the area you want to remove,
using the selection tool.
While selected hit, the delete key.
Zoom in and use the eraser to remove
any stray pixels.
Deselect.
Repeat at the bottom, and use the eraser tool to
remove any stray pixels.
Click on the merged toadies layer
and apply the following drop shadow
using EyeCandy 3.1:
Direction: 266
Distance: 6
Blur: 4
Opacity: 45
Color: #900E0E
Draw Everywhere "not" filled in.
Ok.
Layers>Merge>Merge Visible.
Go to File>Save As (PSP format)>AlwaysForever
(I save my creations this way, incase I decide to
add a little sparkle or other animation.)
*Optional* Go to Edit>Undo merge, and go to
File>Save As (PSP format) AlwaysForeverLayers.
(You can reopen it in PSP and add to or
move a layer, if you are unhappy with the finished
result, after opening and viewing it in AS.)
~~~~
Open Animation Shop.
Go to File>Open>AlwaysForever
Crop, resize and save as a gif file,
(using the Optimized Median Cut,
Error diffusion, 255 colors settings.)
*Try different settings using the filters,
add a little animation, be creative and have fun!
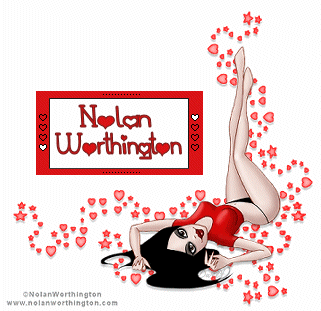
^I duplicated the image above
2 times in AS, for a total of 3 frames. I then applied
a medium sparkle tube on the diamond in frame one, a small sparkle
tube on the 3rd, and the custom paint brush "X" to the middle frame.
~~~~~
*Special thanks to z' wonderful testers...
"Mz. Marlene, Omachka, Her Royal Otterness,
Mz. Serenity, & Mz. Pixie."
*PSP8 tips for this tutorial provided by:
"Her Royal Otterness and Omachka."
Proofed by: Z' Teach "Mz. Marlene."
****
*This tutorial was written by Mz.Tap© on Feb. 9, 2004

 Important Announcement


 First
First 


 Return to Shaz's house