This tutorial is my own creation, any similarity is purely coincidental! This tutorial was written March 17th 2007. Please feel free to LINK to this tutorial and/or print it out for your personal use, but please do not copy it in anyway to put online, pass out or re-write without my permission Supplies PSP Animation Shop Your choice of: font, tube or tubes, word art, bling, gradient/pattern Supplies include: the white frame, tube, chasing heart bling, font, word art, optional flower tube & bevel preset. Supplies HERE 1. Open a new, blank image 600 x 500 pixels transparent image (16 million color depth). File > New > set size & set color depth. For a vertical version size is 500 x 600
2. Flood fill this layer with black, or gradient of choice.
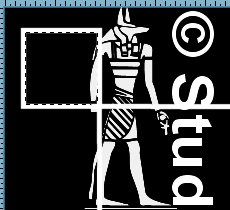
3. Open the white frame, copy and paste as new layer (rotate 90 degrees left if creating a vertical version). Click onto the wand tool and holding down the shift key on your keyboard click into the 4 corner squares. Selections > modify > expand by 2. Highlight the bottom layer and add a new raster layer, flood fill the corners with the silver pattern or your own pattern choice. Keep selected.
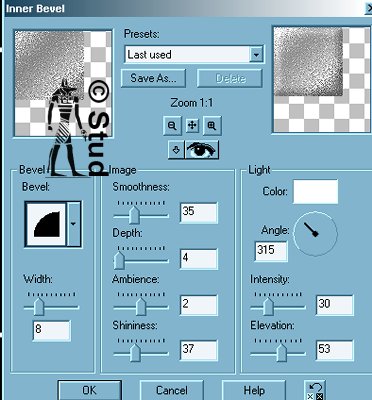
4. Effects > 3D effects > inner bevel > default of 10eBM bevel (or play around until you see something you like!) Deselect.
5. Open your tube, copy and paste as new layer and then resize and position as desired... if using mine resize about 75%, drag this layer below the framework layer.
(Optional step)
Open your flower tube, copy and paste as new layer - also dragged below the framework - and resize and position as desired.
6. Open your word art, copy and paste as new layer, resize and position as desired.
7. Open your font and add your tag name, the colors I used were white as foreground and silver pattern as background. With antialias and create as vector both checked, postion and resize as desired. When happy with the postion, convert to raster layer.
8. Add a new raster layer for any copyright information you require and another for for your watermark. Merge > merge visible.
9. Open your bling and count how many layers it has.
Here you have a choice, you can duplicate your merged tag layer to match the amount of layers on your bling in PSP OR duplicate them in Animation Shop.
I will explain both!
Duplicated in PSP... duplicate your merged layer to match your bling layers (if using the chasing hearts bling from my supplies, that's 14 layers!) Make sure no layers are hidden and then save the tag as a PSP image file to open in Animation Shop.
Open Animation Shop and open both your merged tag and your bling.
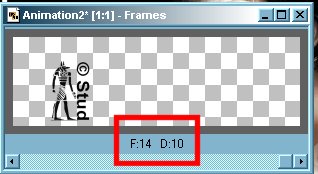
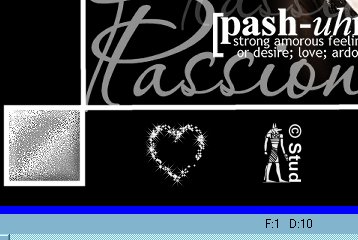
Duplicated in Animation Shop... save your single merged layer as a PSP image file in PSP, then open Animation Shop. Scroll down so you can see the frame number
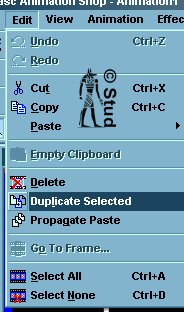
- Edit > Select All > Duplicate Selected. You'll see you now have 2 frames, edit > select all > duplcate selected
- now you have 4! Repeat the select all again so you have 8 frames. Once you have 8 frames, click onto the the first frame and hold down the shift key and then click into the next 6 frames > edit > duplicate selected... now you should have 14 frames!
10. Activate your bling > edit > select all > edit > copy. Activate your tag and scroll back along the bottom so frame 1 is visible and click on it > edit > select all > edit > paste > into selected frame, give it a couple of seconds and the first frame of the bling will appear by your mouse pointer and then move your mouse into position where you'd like your bling to start and click once
11. Edit > select all > animation > resize animation > resize as desired... i make sure the longest edge is no more than 400 pixels
12. File > save as > "name ur tag" > make sure the quality is the best > next > next > finish.
Here are a couple of different versions using glitter and gradients. The shamrock bling only had 3 layers on it so I picked a 3 frame glitter to use in the corners!

 Important Announcement