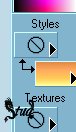
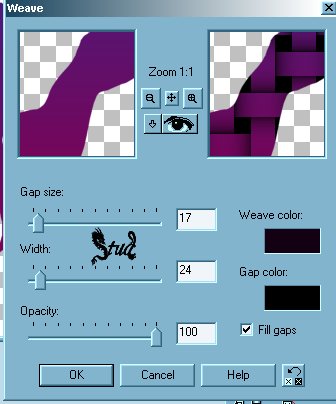
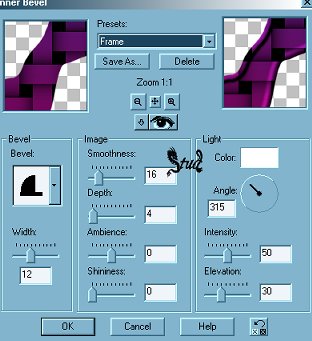
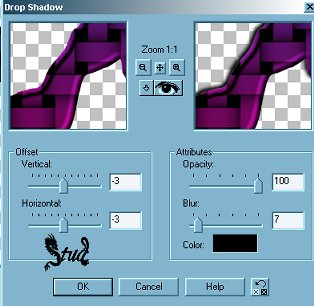
BONDAGE TUTORIAL  This tutorial is my own creation, any similarity is purely coincidental! This tutorial was written March 26th 2005. Please feel free to LINK to this tutorial and/or print it out for your personal use, but please do not copy it in anyway to put online, pass out or re-write without my permission ©§tud This tutorial was written in PSP7 This tutorial uses no external filters and is aimed at the complete beginner! If you're more advanced play with your filters and post the results I'd love to see them!!! I hope you enjoy this tutorial Supplies PSP gradient of choice mummified font sexy preset shape ( i used shape t, you can use any preset shape you like!) my gradient, font and shapes are in this zip This tutorial is my own creation, any similarity is purely coincidental! This tutorial was written March 26th 2005. Please feel free to LINK to this tutorial and/or print it out for your personal use, but please do not copy it in anyway to put online, pass out or re-write without my permission ©§tud This tutorial was written in PSP7 This tutorial uses no external filters and is aimed at the complete beginner! If you're more advanced play with your filters and post the results I'd love to see them!!! I hope you enjoy this tutorial Supplies PSP gradient of choice mummified font sexy preset shape ( i used shape t, you can use any preset shape you like!) my gradient, font and shapes are in this zip 1. Open a new, blank image 400 x 400 pixels transparent image (16 million color depth). File > New > set size & set color depth 2. Click on the preset shapes at the bottom of the left side of the screen (the square and oval). On the preset shape box make sure the antalias and create as a vector are both checked and line width is 1. 3. On the left side, change the styles so that the top one is null (a O with a line thru) and the bottom one has the gradient you've chosen to use 4. Now to make your shape, place your mouse somewhere near the top left of your blank box, click and hold the mouse button down as you drag across to the right until your shape is the right size and shape you prefer. When you're happy, right click on the layer palette and convert to raster 5. To add the bondage weave, click on Effects > Texture Effects > Weave and make sure you have the following settings: gap size ~ 17, width ~ 24, opacity ~ 100, both weave color and gaps color set to black ~ #000000 and make sure that fill gaps is checked. 6. Go back to Effects > 3D effects > inner bevel and select the Frame preset with the settings: width ~ 12, smoothness ~ 16, depth ~ 4, Ambience and shininess both ~ 0, angle ~ 315, intensity ~ 50, elevation ~ 30 and color set to white ~ #FFFFFF 7. Click on effects > 3D effects > drop shadow: Vertical & Horizontal both -3, opacity ~ 100, Blur 7, color set to black ~ #000000 |

 Important Announcement