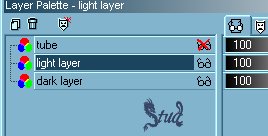
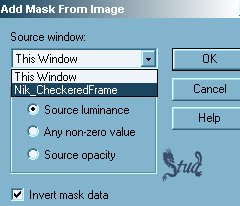
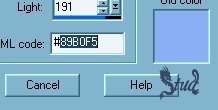
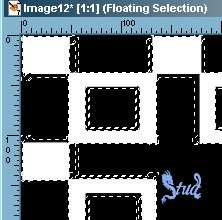
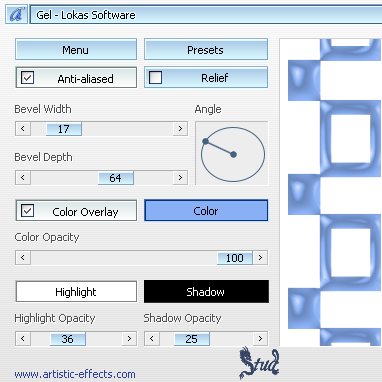
Checkered Past Tutorial  This tutorial is my own creation, any similarity is purely coincidental! This tutorial was written June 24th 2005. Please feel free to LINK to this tutorial and/or print it out for your personal use, but please do not copy it in anyway to put online, pass out or re-write without my permission ©§tud This tutorial was written in PSP7 Supplies PSP & Animation Shop A tube & Font of your choice (a fat font is best) Lokas Software Gel (here) scroll down the page and click on the "Free" button and wait for the countdown to finish at the bottom of the page. You'll see the link at the bottom of the page. A glitter of your choice my supplies include the tube, font & glitter used in the main picture (here) This tutorial is my own creation, any similarity is purely coincidental! This tutorial was written June 24th 2005. Please feel free to LINK to this tutorial and/or print it out for your personal use, but please do not copy it in anyway to put online, pass out or re-write without my permission ©§tud This tutorial was written in PSP7 Supplies PSP & Animation Shop A tube & Font of your choice (a fat font is best) Lokas Software Gel (here) scroll down the page and click on the "Free" button and wait for the countdown to finish at the bottom of the page. You'll see the link at the bottom of the page. A glitter of your choice my supplies include the tube, font & glitter used in the main picture (here) 1. Open PSP & Animation Shop (AS) and minimize AS for now. 2. In PSP open your tube, copy it and close the original. Hide the tube. If you're using the tube in the zipfile it already has a black layer, if you're using your own use the color selector and choose a dark and light color from it. Add a new raster layer and fill with the dark color (don't bother if you've alredy got the black layer), then add another and add your light color (I used white for mine). Make sure the dark layer is on the bottom, the light color is in the middle and the hidden tube is on the top! 3. Open the mask jpeg, make sure your light colored layer is active again and click on Masks > New > From Image > select the Checkered frame mask with source luminence selected and invert mask data checked. Masks > Delete > Yes. 4. Click on the light color at the top right of your screen if you haven't used white and make a note of the HTML code for the color you chose. 5. With the light layer highlighted, selections > select all > selections > float... so you have marching ants around the edges. 6. Click on Effects > plugin Filters > Lokas Software > Gel with the settings: Bevel width ~ 17, depth ~ 64, opacity ~100, highlight color ~ white & opacity ~ 36, shadow color ~ black & opacity ~ 25, check antialias and check color overlayer and type in the color code you made a note of. .. select white if you used white as your light layer. Play with the angle until you're happy! Selections > select none. 7. Layers > Merge > Merge visible. Unhide your tube, resize and reposition as desired, add a drop shadow if you wish also, play with this until you're happy! Add a new raster layer for your watermark and another for your copyright info if you need it. Layers > Merge > Merge visible. The duplicate it twice, hide the top 2 layers. | 
 Important Announcement