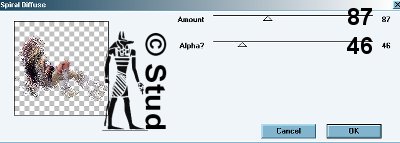
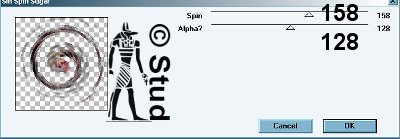
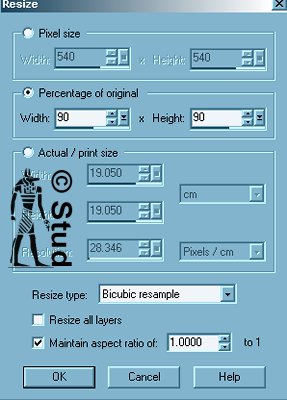
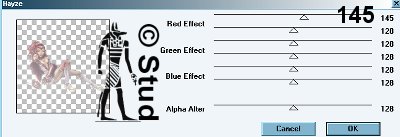
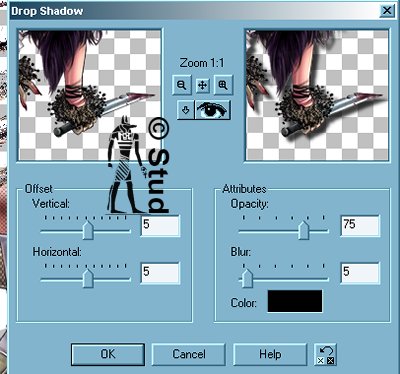
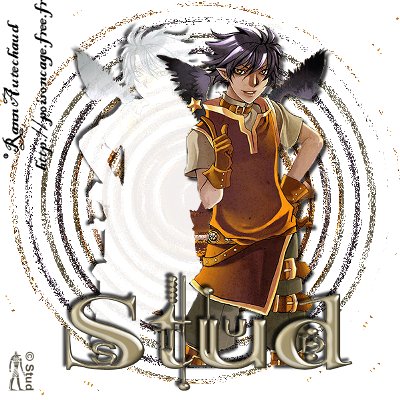
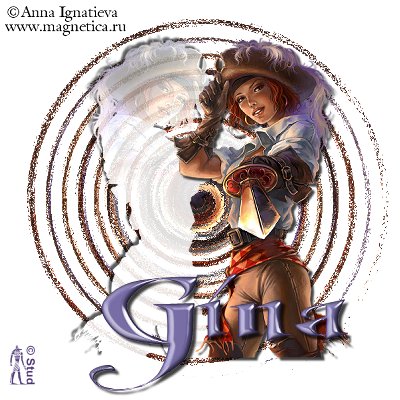
Decayed Spiral 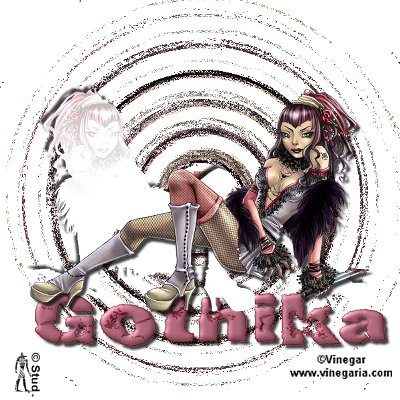 This tutorial was written January 28th 2007. Please feel free to LINK to this tutorial and/or print it out for your personal use, but please do not copy it in anyway to put online, pass out or re-write without my permission Supplies Font and tube of your choice I-Decay plugin HERE download the filter with PSP closed. This is an easy tutorial that only uses one filter, but in 3 different ways. This tutorial was written January 28th 2007. Please feel free to LINK to this tutorial and/or print it out for your personal use, but please do not copy it in anyway to put online, pass out or re-write without my permission Supplies Font and tube of your choice I-Decay plugin HERE download the filter with PSP closed. This is an easy tutorial that only uses one filter, but in 3 different ways. 1. Open a new, blank image 600 x 600 pixels transparent image (16 million color depth). File > New > set size & set color depth. 2. Open your tube, copy and paste it as new layer on your canvas. (resize it if needed to fit inside your blank canvas) Close the original. Right click and rename that layer spiral. Right click on that layer and duplicate it, rename the copy Hayze and for now, hide it by clicking on the glasses on your layer palette. 3. Highlight the Spiral layer, effects > plugins > I-Decay > Spiral Diffuse with the settings: Amount ~ 47, Alpha? ~ 46. 4. Effects > Plugins > I-Decay > Sin Spin Sugar with settings: spin ~ 158, Alpha? ~ 128 5. Highlight the Hayze layer, unhide it and resize it by 90%. Make sure that resize all layers is UNchecked. Right click and duplicate this layer rename the copy tube and hide it for now. 6. Highlight the Hayze layer. Effects > Plugins > I- Decay > Hayze with settings: red effect ~ 145 and all the others remain on 128. Reduce the opacity a little if you would like. 7. Move the hayze layer slightly to one side, unhide the tube layer, Image > mirror and move slightly to the other side... you choose which layer goes where, as long as the tube layer is on top. 8. With the tube layer highlighted, effects > 3D effects > drop shadow with settings: both vertical and horizontal on 5, opacity ~ 75, blur ~ 5, color ~ black 9. With the hayze layer highlighted, repeat the drop shadow but change the vertical and horiizontal to -5, the rest stay the same. 10. Use the color selector to choose 2 colors from your tube, unless you want a pattern or gradient for your font. 11. Open yor font and minimize it. Add your text with create as vector and antialias both checked, size depends on the length of your text and the font you're using! Resize and position as desired. Convert to raster layer when happy with it. 12. Use an inner bevel of your choice and any special effects eg filters - that you would like to then add the same drop shadow as in step 8. 13. Add any copyright information you need to add as a new layer and add a layer for your watermark. 14. Resize as desired and save as Jpeg. I hope you enjoy this tut, below are a couple of different versions where I used patterns and a filter on the text. | 
 Important Announcement