1. Open a new, blank image 500 x 500 pixels transparent image (16 million color depth). File > New > set size & set color depth.
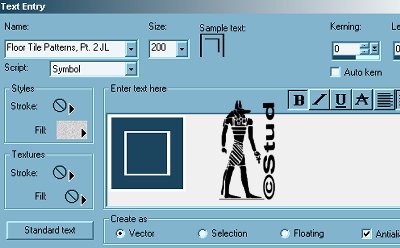
2. Set your background color to null and foreground to whatever color/gradient or pattern you like! Open your floor tiles font (or your own ding font) and with the size set to 200, create as vector and antialias checked, type the letter Y (if you're using your own font, pick a letter that gives a nice frame shape!) and click ok. Resize as desired and convert to raster.
3. Effects > Geometric effects > Twirl set to -271
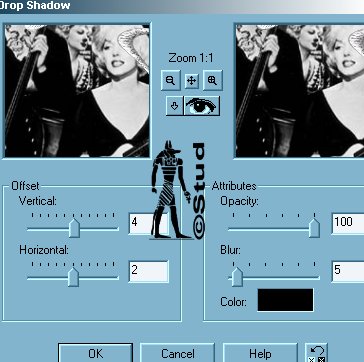
4. Effects > 3D effects > inner bevel of choice. Effects > 3D effects > Drop shadow settings: Vertical ~ 4, Horizontal ~ 2, Opacity ~ 100, Blur ~ 5, color black.
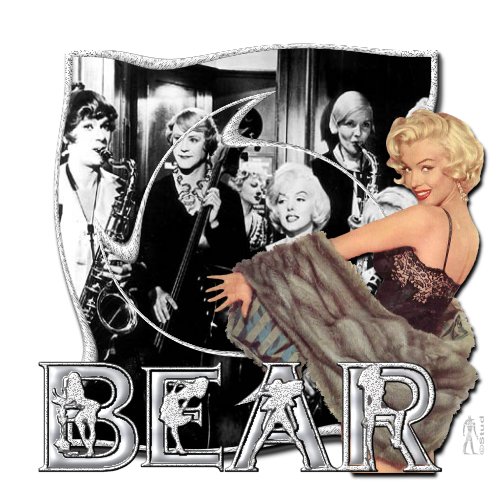
5. Click on the magic wand and click into the white sections within the ding by holding down the ctrl key while clicking into the gaps. Selections > modify > expand by 5, add a new raster layer and make sure this layer is active. Open your background picture, copy and paste into selection, drag this layer below your ding, deselect. * to animate, duplicate this layer twice so you have 3 layers and repeat this layer by pasting more background pictures into each layer, making sure you drag the background pictures below each frame. I also used the photo effex filter on my background pics - see bottom of page for instructions!
6. Open your tube, copy and paste as new layer, resize and position as desired and add the same drop shadow. *to animate, again duplicate twice
7. Add a new raster layer for any watermark or brush.
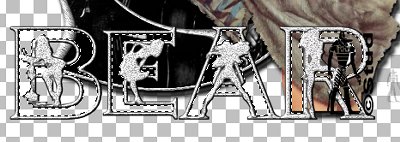
8. Open your alpha font, with create as vector and antialias both checked use colors/ gradients etc of choice, resize and position as desired. Add an inner bevel of choice, then click on the magic wand and into the gaps and expand by 1 then flood fill with a contrasting color/gradient and again add an inner bevel. Deselect and add a drop shadow.
9. Resize so that it's no longer than 400 pixels and save as JPEG
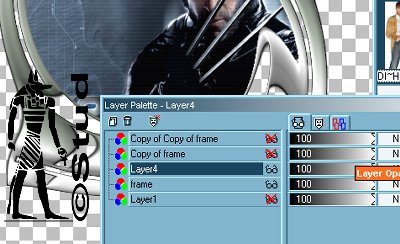
****To animate, duplicate the layers of 5, 6, 7 and 8. Drag each of the layers to match with the ding frame. Hide all the layers apart from your bottom set of frame, background picture, tube, brush and text and merge visible. Hide that layer and unhide the next set and repeat and then repeat again with the final set. Unhide all three merged layers and save as a PSP extension.
Open Animation Shop, open up your picture which should have 3 frames now. Edit > select all. Animation > frame properties > 30 or your own choice, the higher the number the slower the animation. Animation > resize animation > 380 (no more than 400). Save as a gif and see the optimization settings here if you need help!

 Important Announcement