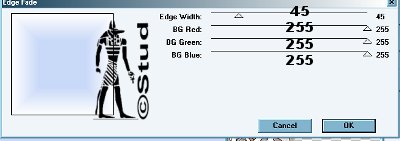
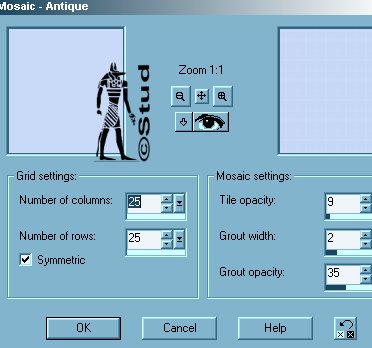
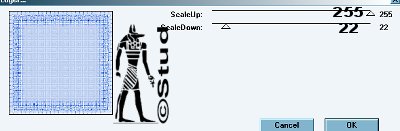
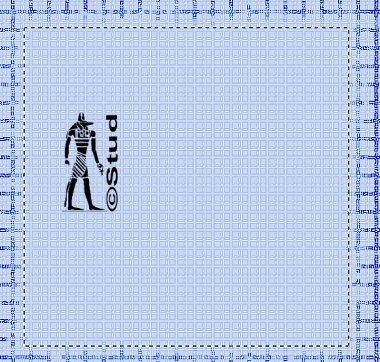
Gabriel  This tutorial is my own creation, any similarity is purely coincidental! This tutorial was written November 22nd 2005. Please feel free to LINK to this tutorial and/or print it out for your personal use, but please do not copy it in anyway to put online, pass out or re-write without my permission Supplies PSP Tube and font of choice DC Special Filter & ECWS Edge Fade Filter HERE (spelt egefade on this page lol) This tutorial is my own creation, any similarity is purely coincidental! This tutorial was written November 22nd 2005. Please feel free to LINK to this tutorial and/or print it out for your personal use, but please do not copy it in anyway to put online, pass out or re-write without my permission Supplies PSP Tube and font of choice DC Special Filter & ECWS Edge Fade Filter HERE (spelt egefade on this page lol) 1. Open a new, blank image 500 x 500 pixels transparent image (16 million color depth). File > New > set size & set color depth 2. Open your tube and using the eye dropper, pick a dark and pale color from it as your back and foregrounds. Add a new raster layer, flood fill the first layer with the dark color and flood fill the 2nd layer with the pale color. 3. Make sure the pale color layer is highlighted, Effects > Plugin Filters > ECWS > Edge Fader with the settings: Edge width > 45, BG Red> 255, BG Green > 255, BG Blue > 255 4. Effects > Texture Effects > Mosaic Antique, settings: Columns and rows > 25, Symmetric checked > Opacity > 9, growth width > 2, grout opacity > 35 5. Effects > Plugins Filter > DC Special > Edger, with default settings of 255 and 22. 6. Click on the selection tool and pick the rectangle with feather set to 0 and antialias checked. Draw a rectangle around the center square just inside the checkered pattern. 7. Selections > Invert. Effects > 3D effects > Inner Bevel, Bead default settings. Selections > Invert > Edit > cut > edit > paste as new layer and drag the layer between the other 2 layers. Deselect. 8. Image > rotate 45 degrees left. Hide layer 1, effects > reflection effects > feedback, settings: Opacity ~ 50, Intensity ~ 70, Horizontal center ~ 63, Vertical center ~ 41, Eliptical checked. 9. Copy and paste your tube as new layer, resize and position as desired. Effects > 3D effects > Drop shadow > vertical ~ 5, horizontal ~ -6, Opacity ~ 100, blur ~ 3, color ~ black (this is only a guideline, do a shadow that suits your tag!) 10. Add your text, with create as vector and antialias both checked, size depends on what you're writing! Position and resize as desired, convert to raster when happy. Add your choice of bevel and drop shadow. 11. Add and © information and any watermark/brush you and resize so that it is no longer than 400 pixels. Save as a Jpeg and you're done! | 
 Important Announcement