This tutorial is my own creation, any similarity is purely coincidental! This tutorial was written October 29th 2006. Please feel free to LINK to this tutorial and/or print it out for your personal use, but please do not copy it in anyway to put online, pass out or re-write without my permission Supplies PSP Tubes and font of choice Two Moons Filter HERE Eye Candy 4000 (optional) 1. Open a new, blank image 500 x 500 pixels transparent image (16 million color depth). File > New > set size & set color depth.
2. Flood fill blank canvas with black
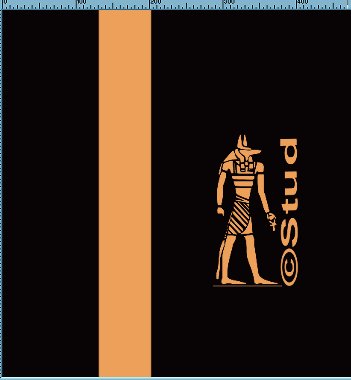
3. Using the preset shapes tool, select the rectangle with create as vector checked. With your background color set to a color to match your main tube and your foreground set to null, draw a rectangle the length or breadth of your canvas, the choice is yours. When your happy with it's position, duplicate it and position that as desired. Repeat the duplication if you wish and position all bars where desired. Merge > merge visible.
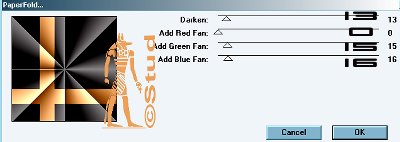
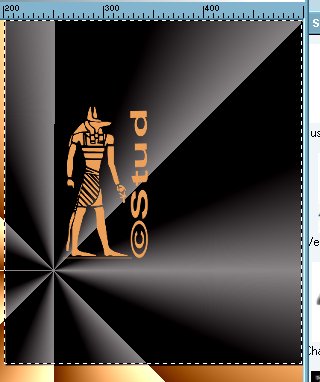
4. Effects > Plugin Filters > Two Moon > Paperfold, with the settings: Darken > 13, Add red fan > 0, Add green fan > 15, Add blue fan > 16
5. Using the selection tool, select rectangle, feather > 0, Antialias > checked, select an area that is a large black area and add new raster layer. Open your background tube, copy and paste into selection. Deselect.
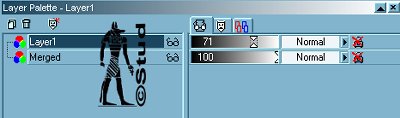
6. Reduce opacity a little depending on how bright you tube is. Mine was reduced to 71.
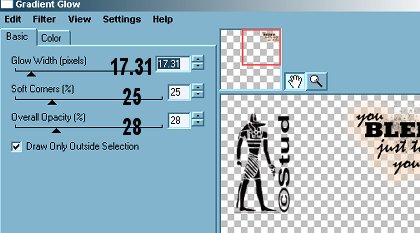
7. Add a phrase or word art with black font and position as desired. Here you can use Eye Candy 4000 filter with the color set to the same as your stripes and then repeated with the color set to white. Or, use the basic drop shadow, effects > 3D effects drop shadow with color set to white and vertical and horizontal settings on 10.
Below is EC4000 settings: glow width 17.31, soft corners 25, opacity 28.
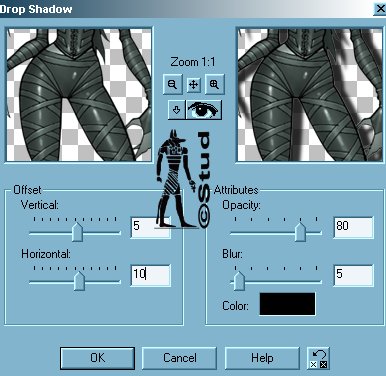
8. Open your main tube, copy and paste as new layer and resize and position as desired. Add a drop shadow, effects > 3D effects > drop shadow with settings: Vertical > 5, horizontal > 10, opacity > 80, Blur > 5, color > black
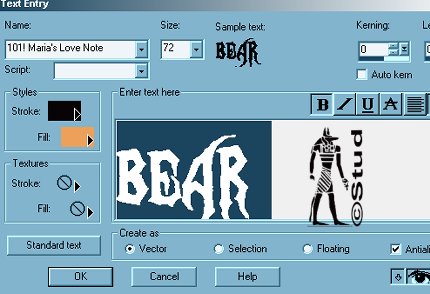
9. Foreground color set to Black and background color set as your bars, open your font and minimize. With vector and antialias noth checked enter your tag name, the size will depend on how long the text is! Resize and position as desired and then convert to raster layer.
10. Use an inner bevel of your own choice and if you would like to use a filter then please do so, I used Lokas Aqua filter and then added the same drop shadow.
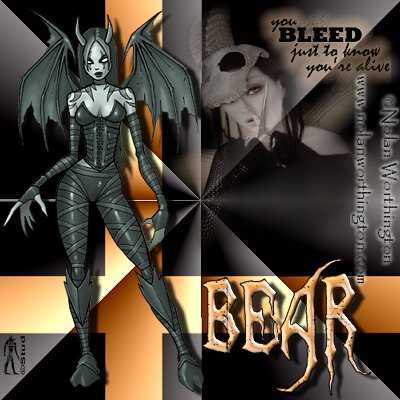
Reduce the image to no more than 400 x 400 pixels and save as a jpeg.
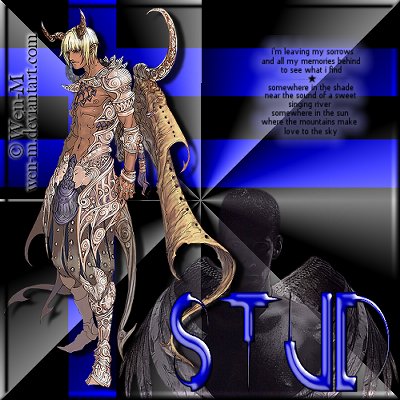
Below is a male example with extra bars

 Important Announcement