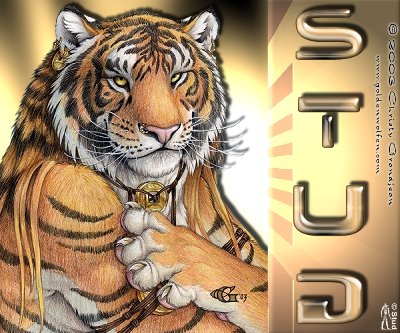
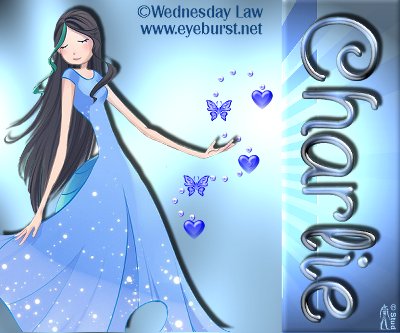
Gregs Two Much  This tutorial is my own creation, any similarity is purely coincidental! This tutorial was written April 14th 2007. Please feel free to LINK to this tutorial and/or print it out for your personal use, but please do not copy it in anyway to put online, pass out or re-write without my permission Supplies PSP tube and font of choice Gregs Factory Output Vol II filter HERE website HERE scroll down to the bottom of the page inner bevel of choice or HERE Supplies include: font, accent (used in alternative!) and tube used in tut HERE (if you would like the tube used in the alternative click HERE and scroll down for Wednesday Law tubes) This tutorial is my own creation, any similarity is purely coincidental! This tutorial was written April 14th 2007. Please feel free to LINK to this tutorial and/or print it out for your personal use, but please do not copy it in anyway to put online, pass out or re-write without my permission Supplies PSP tube and font of choice Gregs Factory Output Vol II filter HERE website HERE scroll down to the bottom of the page inner bevel of choice or HERE Supplies include: font, accent (used in alternative!) and tube used in tut HERE (if you would like the tube used in the alternative click HERE and scroll down for Wednesday Law tubes) 1. Open a new, blank image 500x 600 pixels transparent image (16 million color depth). File > New > set size & set color depth. 2. Open tube select 2 colors, one dark and one mid to pale and flood fill the blank canvas with the paler one 3. Effects > plugins > Gregs Factory output Vol II > Pool Shadow with settings: diagonal ~ 50, center ~ 58, Horizontal ~ 54, diagonal ~ 71, horizontal ~ 37, vertical ~ 68, Intensity ~ 150, Lightness ~ 134 4. Copy and paste your tube as a new layer and resize and position as desired. Effects > 3D effects > drop shadow with settings: vertical ~ -6, horizontal ~ 6, opacity ~ 75, blur ~ 5, color ~ black 5. Using your 2 color selected from your tube, change your background to a gradient and using the rectangle preset draw a block on the opposite side to your tube. The width of this is an approximation, it's your choice how wide you'd like it! 6. Effects > plugins > Gregs factory output Vol II > Shatter with settings: X ~ 144, Y ~ 144, Size ~ 172, Offset ~ 229 7. Effects > plugins > Gregs Factory output Vol II > Spotlight with settings: X ~ 168, Y ~ 135, Size ~ 74, Focus ~ 150, Inner Gain ~ 204, Outer Gain ~ 58 8. Effects > 3D effects > inner bevel of choice, I used the 10eBM bevel on it's default setting 9. Open your font and with create as vector and antialias both checked. Resize and position as desired then convert to raster layer. 10. Effects > plugins > gregs factory output II > waffle with settings: X size ~ 41, Y Size ~ 45 11. Effects > 3D effects > inner bevel of choice, I used 10eBM again. 12. Effects > 3D effects > drop shadow with settings same as before. Add any accents or word art etc. you wish. 13. Add a new raster layer for any copyright information and another for your own watermark. 14. Merge > merge visible. Resize and desired and save as jpeg.  |  Free Forum Hosting