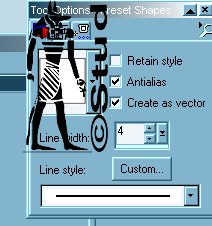
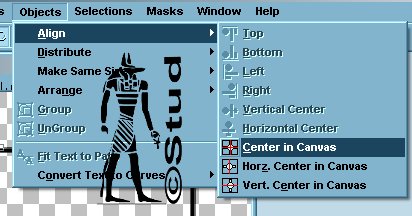
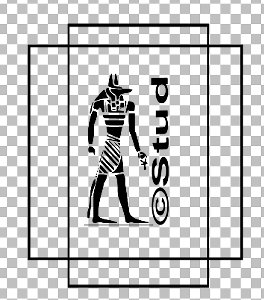
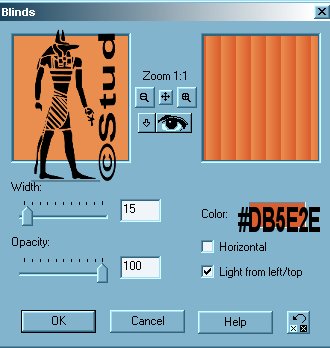
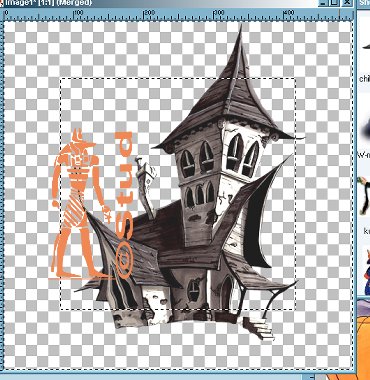
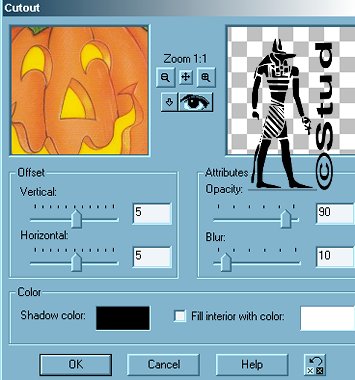
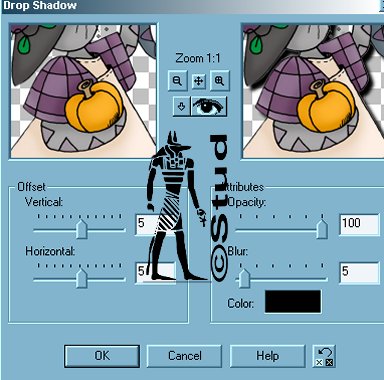
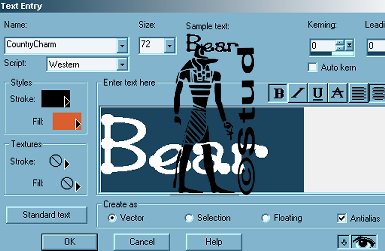
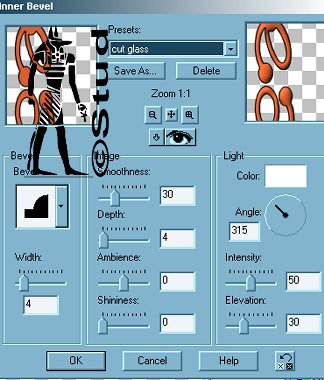
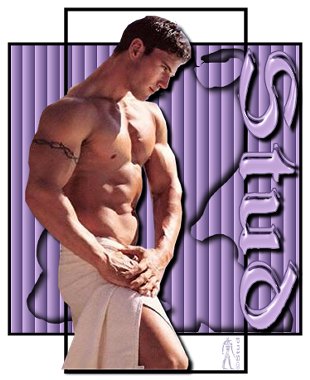
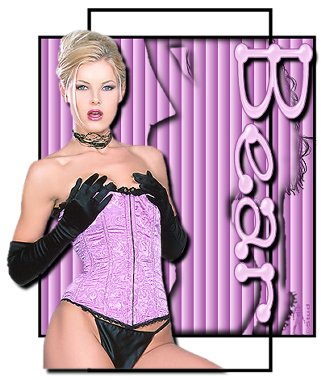
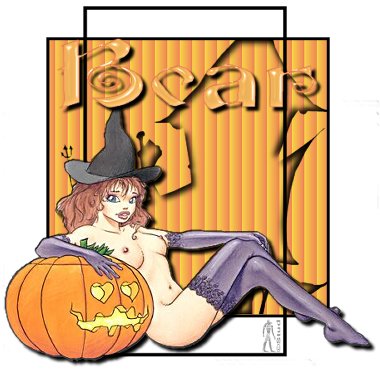
HelloWeeeeeeen! 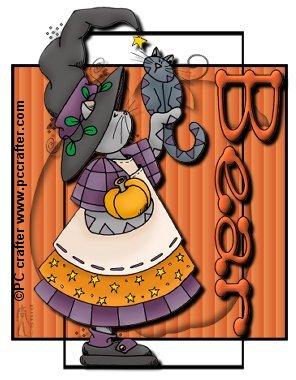 This tutorial is my own creation, any similarity is purely coincidental! This tutorial was written October 18th 2005. Please feel free to LINK to this tutorial and/or print it out for your personal use, but please do not copy it in anyway to put online, pass out or re-write without my permission ©§tud Supplies PSP Font of choice 2 tubes of choice (one needs to make a good silhouette!) This tutorial uses no outside filters! My supplies include both tubes and the Countrycharm font HERE This tutorial is my own creation, any similarity is purely coincidental! This tutorial was written October 18th 2005. Please feel free to LINK to this tutorial and/or print it out for your personal use, but please do not copy it in anyway to put online, pass out or re-write without my permission ©§tud Supplies PSP Font of choice 2 tubes of choice (one needs to make a good silhouette!) This tutorial uses no outside filters! My supplies include both tubes and the Countrycharm font HERE 1. Open a new, blank image 500 x 500 pixels transparent image (16 million color depth). File > New > set size & set color depth 2. Set your foreground to black and your background to null, draw a medium sized square from your preset shapes with line width set to 4 and antialias and create a vector both checked. Objects > align > center in canvas Duplicate this layer, highlight the original layer and convert to raster layer, rename "square". On the copy, bring both edges in slightly and stretch the ends to make it rectangular, convert to raster layer and rename "rectangle". Then hide this layer! 3. Open both your tubes and using the eye dropper, pick a dark color for your foreground and a mid to pale color for your background (from either tube!). Highlight the "square" layer. Click on the magic wand and click inside the square, selections > modify > expand by 1 pixel and flood fill with the paler color. Make a note of the code of the dark color for the later. Effects > texture effects > blinds, width ~ 15, opacity ~ 100, light from left/top checked, change the color to the code that you made a note of. Deselect. 4. Add a new raster layer. Click on the selections tool and draw a rectangle around the black edge of the square. Open the tube you're using as the silhouette and copy and paste as new layer. Position as desired (it doesn't need to fit inside the square, just make sure the most interesting part is inside!). Hide all layers apart from the tube and the selections, layers > merge > merge visible. Selections > invert... hit delete on your keyboard! Deselect and unhide all layers apart from the "rectangle" layer. 5. On the tube layer, duplicate it and hide the copy. Highlight the original, effects > 3D effects > cutout, vertical and horizontal both ~ 5, opacity ~ 90, blur ~ 10, shadow color ~ black, cill interior UNchecked. 6. Unhide the copy and repeat the cutout but change the vertical and horizontal to -5. Hide the "square " layer and layers > merge > merge visible. Unhide everything and reposition as desired. 7. Copy and paste your 2nd tube as a new layer, move to top of layer palette if it isn't already there! Resize and position as desired. Add a drop shadow - Effects > 3D effects > drop shadow, vertical and horizontal both ~ 5, opacity ~ 100, blur ~ 5, color ~ black 8. Time to add your text, the size depends on the font and what you're writing! Create as vector and antialis both checked. 9. If your text needs to be vertical depends on your tube, to rotate... Image > rotate 90 degrees, if your tube is on the left hand side of your tag - rotate right and vice versa. Resize as desired then convert to raster layer. Add any inner bevel you like, I used Cut Glass preset and used the same drop shadow as used on the tube. 10. Add new raster layer for your watermark and another for any © information needed. Layers > merge > merge visible. Crop any excess from around the edge and resize so that the longest edge is no more than 400 pixels. Save as a JPEG! I hope you enjoy this tutorial, I look forward to seeing any results! Below are a couple of version I made. | 
 Important Announcement