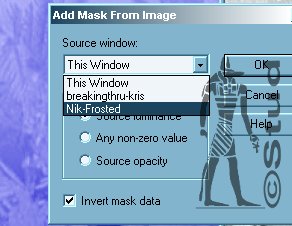
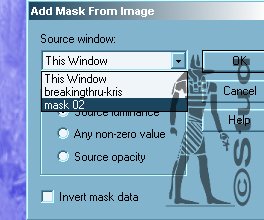
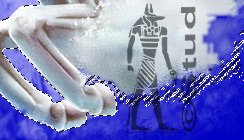
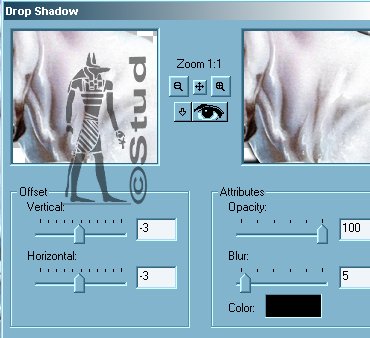
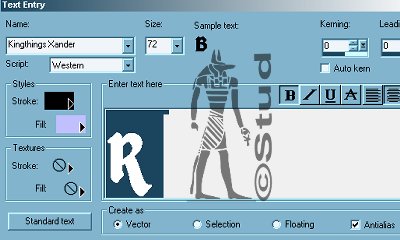
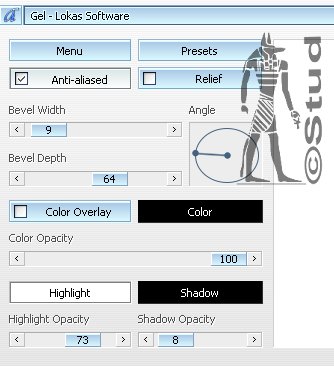
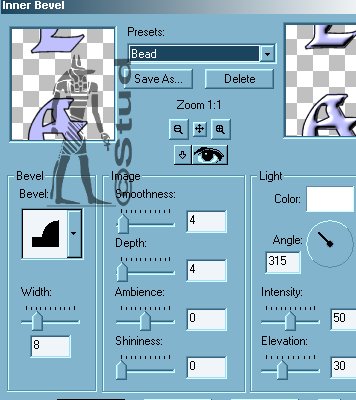
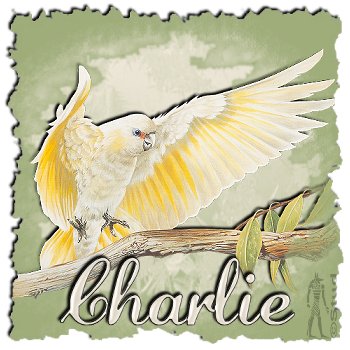
Icy Jump Tutorial 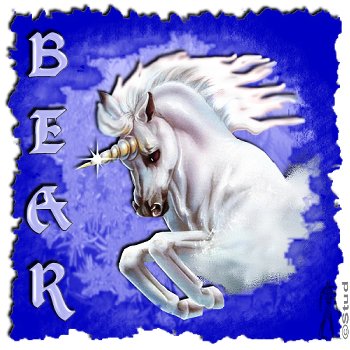 This tutorial is my own creation, any similarity is purely coincidental! This tutorial was written August 20th 2005. Please feel free to LINK to this tutorial and/or print it out for your personal use, but please do not copy it in anyway to put online, pass out or re-write without my permission ©§tud Supplies PSP A tube of your choice Fonts of your choice 3 masks (in supplies) Lokas Gel Filter (Optional) Can be done with Inner bevel and Eye Candy Glass filter if prefered! Supplies including font, masks & unicorn tube HERE This tutorial is my own creation, any similarity is purely coincidental! This tutorial was written August 20th 2005. Please feel free to LINK to this tutorial and/or print it out for your personal use, but please do not copy it in anyway to put online, pass out or re-write without my permission ©§tud Supplies PSP A tube of your choice Fonts of your choice 3 masks (in supplies) Lokas Gel Filter (Optional) Can be done with Inner bevel and Eye Candy Glass filter if prefered! Supplies including font, masks & unicorn tube HERE 1. Open a new, blank image 500 x 500 pixels transparent image (16 million color depth). File > New > set size & set color depth 2. Choose a dark and light color that will suit your tube, I used a light and dark blue for an icy feel! Foreground color #0000C0, background color #C0C0FF. Fill layer one with your pale color, add a new raster layer and fill that with your dark color. Keep the dark layer highlighted on your layer palette. 3. Open the Nik-Frosted mask jpeg and minimize it. Masks > New > from Image > select the Nik Mask and mask sure the invert mask data is chacked. Masks > delete > yes (when prompted). Close this mask. Open Mask 02 and minimize. 4. Add new raster and flood fill this with the dark color, again... Masks > new > from image > Mask 02, this time make sure invert mask data is UNchecked. Masks > delete > yes (when prompted). Close this mask too. Make sure that the bottom layer is highlighted in the layer palette. 6. Open the tube you're going to use and copy and paste as new layer. It should be between the dark layer and the frosty layer, drag it down if it's not! Reposition slightly off to one side or if using your own tube place where desired. 7. If the color covers parts of the tube you want showing, highlight the tube layer, selections > select all > selections > float. Highlight the dark layer above and using the eraser tool erase the parts you want cleared. Slecting the tube means that only that shape gets deleted! When you're finished, selections > select none. Keep the unicorn layer highlighted. 8. Effects > 3D effects > drop shadow with the settings: vertical & horizontal ~ -3, opacity ~ 100. blur ~ 5, color ~ black 9. Layers > merge > merge visible. Open the edge mask 137 and make sure the invert mask data is still UNchecked. Masks > new > from image > mask137. Masks > delete > yes (when prompted). Add the same drop shadow to this layer. 10. Open your font, stroke(foreground) black, background still the pale color with create as vector and antialias both checked. Size is dependent on your text. Resize and postion as desired then convert to raster. 11. If you're using Lokas Gel use the settings as desired, but make sure antialias is CHECKED and color overlay is UNchecked! I used the settings below 11. If you're using an inner bevel, the best result comes from the default settings of the Bead preset, add Eye Candy Glass if desired to this, either version! Play!! 12. Either version, add the same drop shadow to the text. Layers > merge > merge visible. Resize so that it's no longer than 400 pixels then add a new raster layer each for your watermark and any © information needed for your tube. Save as a JPEG and your done! Below is a version that shows it doesn't have to be blue, a horse or even vertical lol. I only erased one side of the branch to make it look like it was coming out of the tear in the color. | 
 Important Announcement