This tutorial is my own creation, any similarity is purely coincidental! This tutorial was written May 30th 2005. Please feel free to LINK to this tutorial and/or print it out for your personal use, but please do not copy it in anyway to put online, pass out or re-write without my permission ©§tud Supplies PSP a tube and font of your choice in the supplies I've zipped there is the inner bevel preset, the bar tube and the pole dancer tube I used above. With PSP closed unzip the preset to your presets folder and the bar tube & pole dancer tube to any tube folder you like. SUPPLIES I didn't use any outside filters for this tutorial. 1. Open a new, blank image 500 x 500 pixels transparent image (16 million color depth). File > New > set size & set color depth
2. Open the poleart bars tube, copy and paste as new layer on your blank canvas.
3. Click on the magic wand and click into the center of any bar, then hold down the shift key on your keyboard and click into the others. Click on selections > modify > expand by 1.
4. Select a gradient you like and use any angle and/or repeats etc. to make it interesting. Click on your paint pot and fill the bars. Selections > select none.
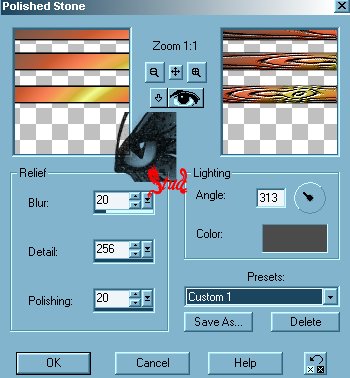
5. Click on Effects > Texture effects > polished stone, select any preset you like (this makes sure that every tag is unique!) I used custom 1 on the gold alternative and I customized it completely on the pink version.
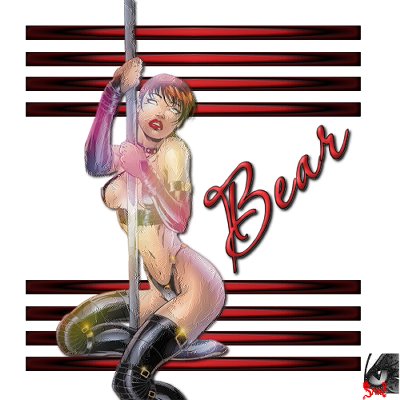
6. Open your own choice of tube or the pole dancer, resize if necessary and position where desired. Duplicate the layer and hide the copy.
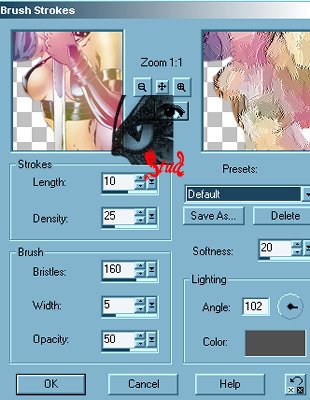
7. Make sure the original is highlighted, click on effects > artistic effects > brush strokes and use the default preset. Unhide the copy and reduce the opacity to show the brush strokes through, it depends on the colors of the tube you're using.
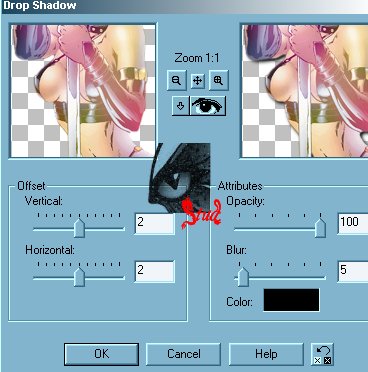
8. On the copy, add a drop shadow with the settings Vert & Hor ~ 2, Opacity ~ 100, Blur ~ 5
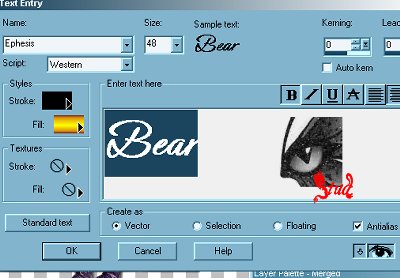
9. Open your font and minimize it onto your toolbar (i used Passionsconflict on my original but have used any font that suits the tube so I didn't add one into your supplies). Use the follwoing settings: stroke ~ black, fill ~ use the gradient you used on the the bars or something that matches your tube, create as a vector & antialias both CHECKED, size is dependent on your text. Resize and position where desired and then convert to raster layer.
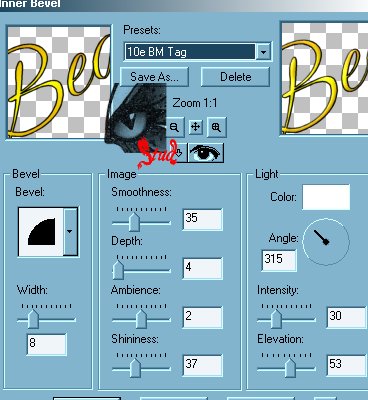
10. Click on Effects > 3D effects > Inner bevel & select the 10eBMTag and use its default settings, then add the same drop shadow as in step 8
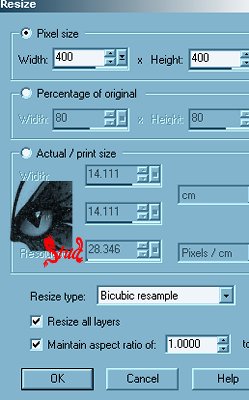
11. Add anew raster layer for you watemark, click on layers > merge > merge visible. Click on Image > resize and make sure it's no bigger than 400 pixels.
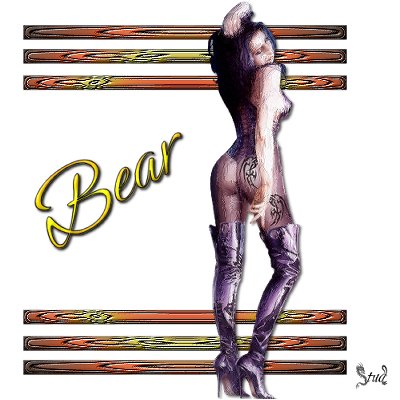
12. Add a new raster layer for any copyright info you need to add and then save as a jpeg!

 Important Announcement