This tutorial is my own creation, any similarity is purely coincidental! This tutorial was written June 30th 2005. Please feel free to LINK to this tutorial and/or print it out for your personal use, but please do not copy it in anyway to put online, pass out or re-write without my permission ©§tud Supplies PSP Tube and Font of your choice Kang's Filter 1 Script brush of your choice the tube I used came with no © information or artist credit, if you know the artist or ARE the artist please let me know and I'll either add the proper credit or remove it, whichever you decide!
1. Open a new, blank image 500 x 500 pixels transparent image (16 million color depth). File > New > set size & set color depth
2. Set your foreground to back and your background to any color, pattern or gradient you like. Click on the preset shapes and select rectangle, with line width on 1 and create as vector and antialias both checked. Draw a rectangle about the size 223 x 443 - this is at the bottom left of your screen.
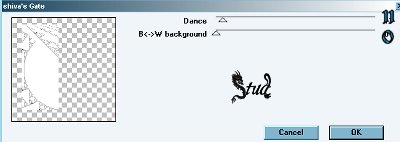
3. Effects > Plugin Filters > Kangs 1 > Shiva's Gate with the settings Dance ~ 11, B W background ~ 0. Play with these settings to make it unique to you!
4. Duplicate this layer, Image > mirror and move them together. If you used a plain color colorize each side a different color by clicking on Colors > Colorize and play with the colors until you are happy... Layers > Merge > Merge visible.
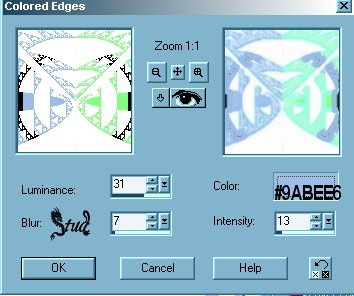
5. Effects > Artist Effects > Colored edges with the settings Luminence ~ 15, Blur ~ 7, Intensity 13 and choose a color from either the tube you're using or the merged gate!
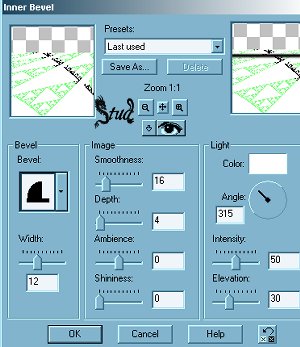
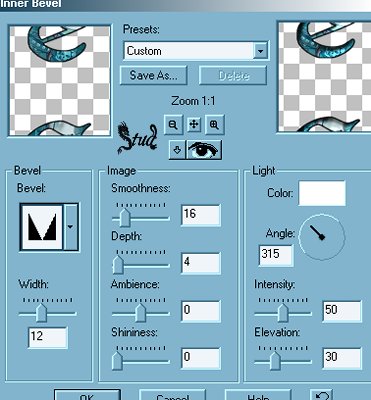
6. Effects > 3D effects > inner bevel and use the frame preset with the settings: width ~ 12, smoothness ~ 16, Depth ~ 4, Ambience ~ 0, Shininess ~ 0, color ~ white, angle ~ 315, Intensity ~ 50, Elevation ~ 30
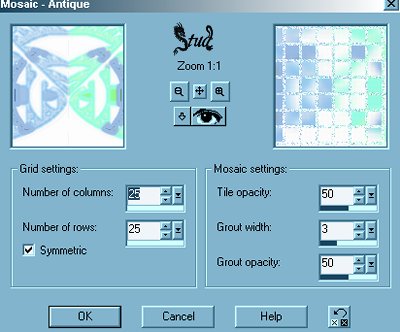
7. Selections > select all > selections > float. Effects > Texture effects > mosaic antique with the settings: both columns and rows ~ 25, symmetric checked, tile opacity ~ 50, grout width ~ 3, grout opacity ~ 50.
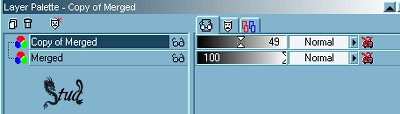
Duplicate this layer and click on Image > flip... then reduce the opacity on this duplicated layer to 49. ***If you've played with the gate settings and you have a dark grey are black background you don't need to duplicate and flip
Layers > merge > merge visible.
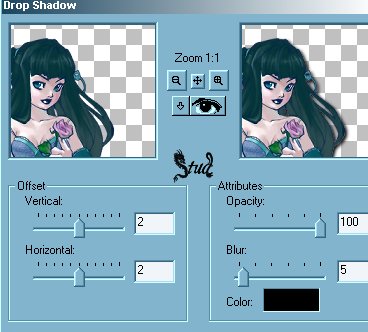
8. Add a new raster layer and add your text brush. Open your tube, copy and paste as new layer, resize and reposition as desired. Effects > 3D effects > Drop Shadow: vertical and horizontal both ~ 2, Opacity ~ 100, Blur ~ 5.
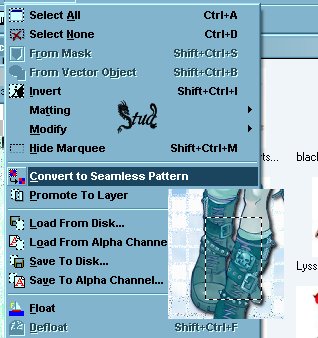
9. Click on the selections tool and using the rectangle, select a nice part of your tube, making sure it's not too close to the edge. Selections > convert to seamless pattern
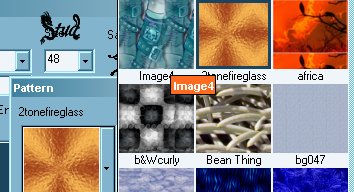
10. Go back to your tag and right click in the middle of the marching ants to deselect. Change your background to the pattern you've selected and keep the foreground as black, open your font and minimize it to your toolbar.
With create as vector and antialias both checked, create your text. Position and resize as desired then convert to raster layer. Effects > 3D effects > Inner bevel > Groove preset with the settings: width ~ 12, smoothness ~ 16, Depth ~ 4, Ambience ~ 0, Shininess ~ 0, color ~ white, angle ~ 315, Intensity ~ 50, Elevation ~ 30
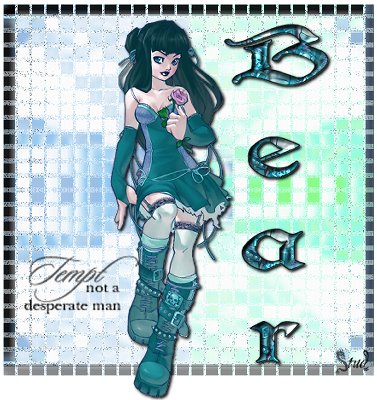
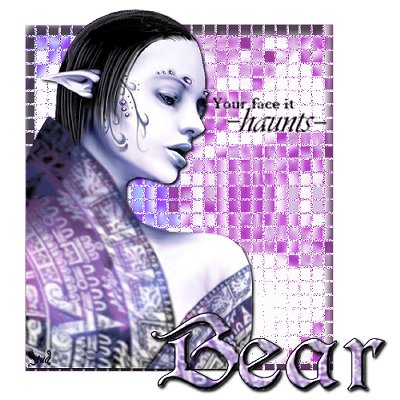
11. Add the same drop shadow to your text as your tube. Add a new raster layer each for your watermark and any © information needed. Layers > merge > merge visible. Crop the white edges off and resize so that the longest edge is no more than 400 pixels. Save as a jpeg. Please make sure your © info is legible!
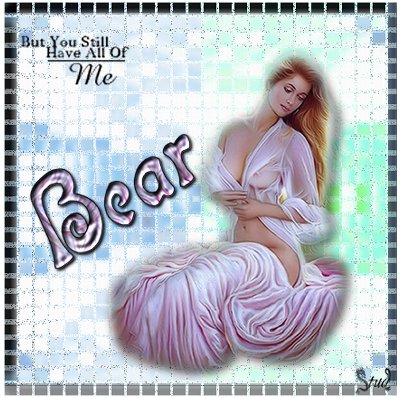
Below are a couple more examples... I hope you enjoy the tut!

 Important Announcement