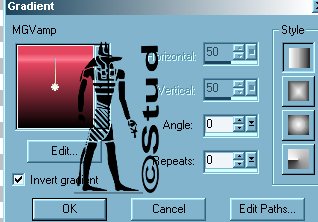
2. Set your foreground to black #000000 and your background to the darker of your gradients (mine is MGVamp). Invert if necessary - the darkest part should be at the bottom.
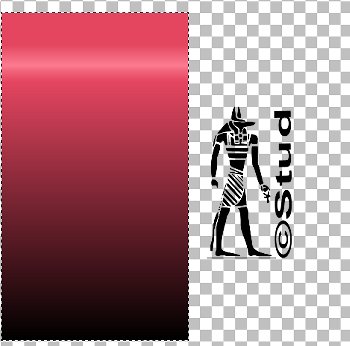
3. Use the selection tool with the rectangle, feather set to 0 and antialias checked. Draw a rectangle over half of the canvas and then fill with the gradient, keep selected and add a new raster layer and fill this with black. Keep selected.
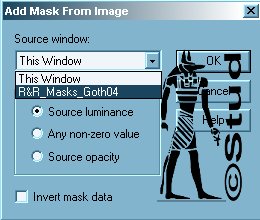
4. Open my goth mask or one of your own. Masks > New > from image and select the name of your mask and mask data UNchecked (it may need inverting if you're using your own mask). Masks > delete > YES. Layers > Merge > merge visible.
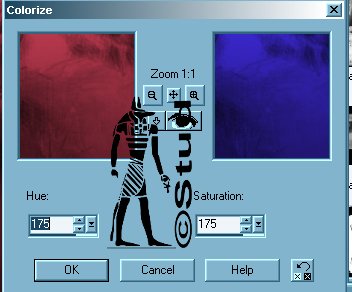
5. Duplicate this layer and image > mirror. You can colorize one of the layers if desired. Layers > merge > merge visible.
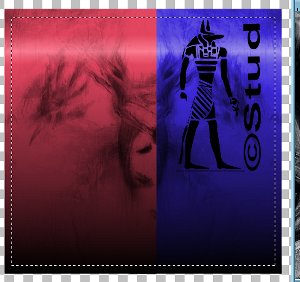
Use the selection tool and draw a rectangle just inside the image, selections > invert and press delete on your keyboard to get even edges. Deselect.
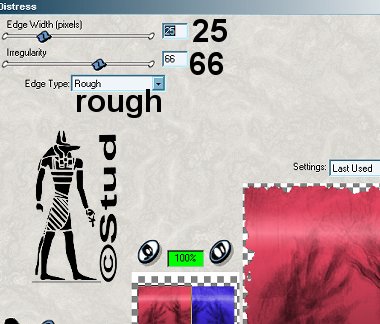
6. If you don't have Xenofex or don't fancy using it, follow this step up to the point of using Xenofex then follow step 4 on using the mask. Selections > select all > selections > float > selections > defloat. (use mask now) Xenofex settings> Effects > Plugin Filters >Xenofex1 > Distress: Edge ~ 25, Irregularity ~ 66, Edge Type ~ rough. Deselect
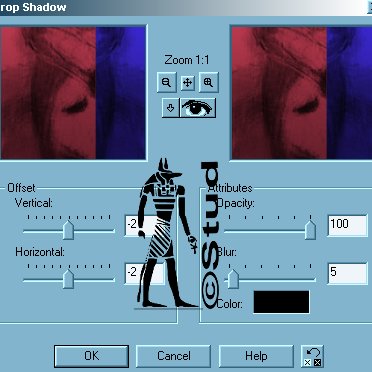
7. Effects > 3D effects > Drop shadow vertical and horizontal both -2, Opacity ~ 100, blur ~ 5, color ~ black. Repeat and change the vertical and horizontal both to 2.
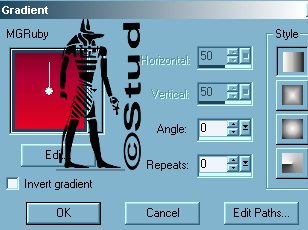
8. Open your tube, copy and paste as a new layer, resize and position as desired. If your tube isn't misted add a drop shadow of choice. Change your gradient to the lighter color, with the lighter end at the bottom!
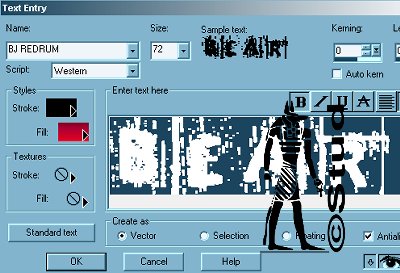
9. Select your font, the size depends on what you're writing, create as vector and antialias both checked. Resize and position as desired then convert to raster.
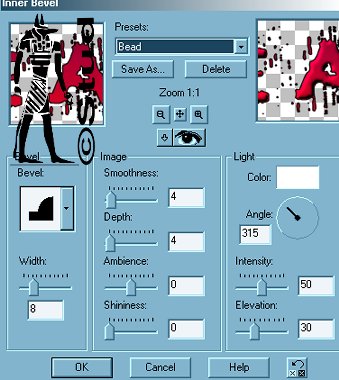
10. Effects > 3D effects > Inner bevel> bead preset.
11. Add a new raster layer for your watermark and another for any © information you need to add for your tube. Layers > merge > merge visible. Crop any white from the edge of your tag and then resize so that the longest edge is no more than 400 pixels then save as JPEG!
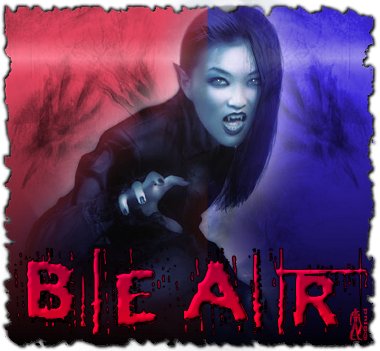
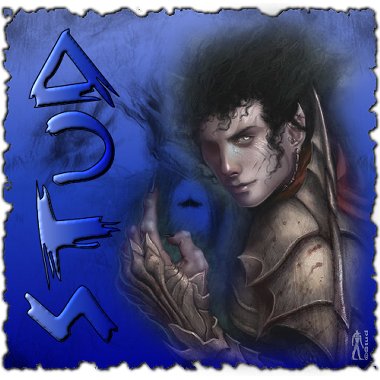
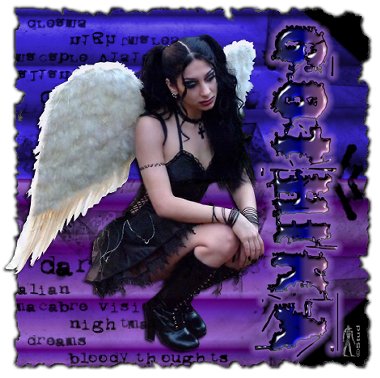
Hope you enjoyed this tut, below is my version where I didn't colorize one half and one I made for Gothika where I used horizontal selections and added a gradient glow from EyeCandy4000 round the text.

 Important Announcement