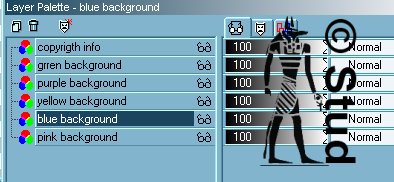
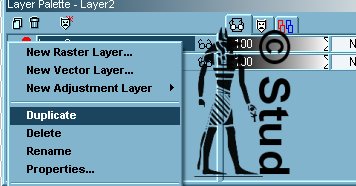
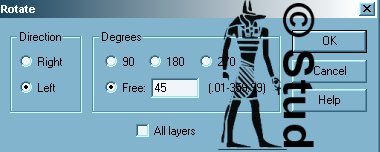
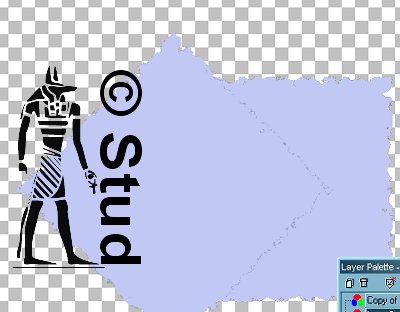
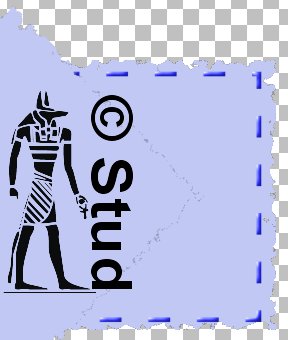
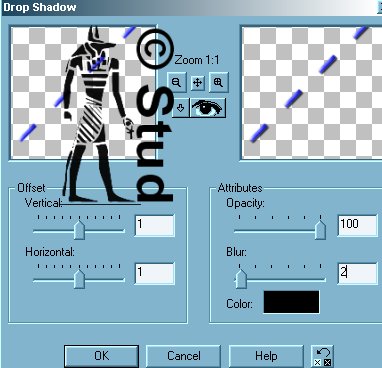
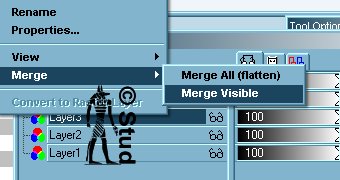
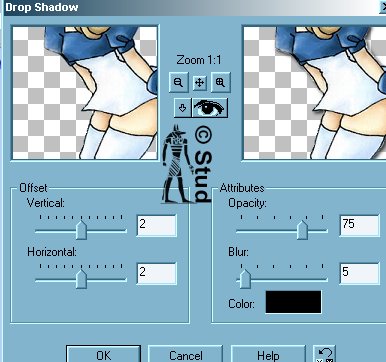
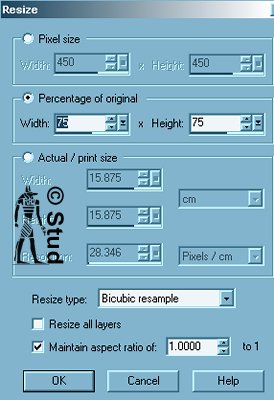
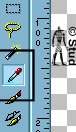
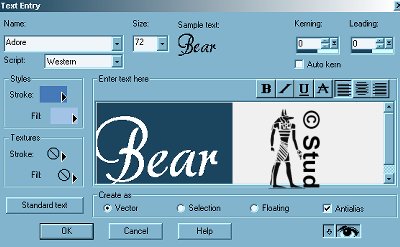
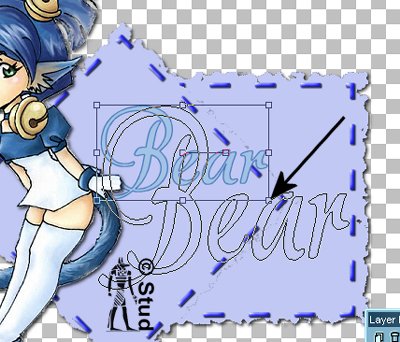
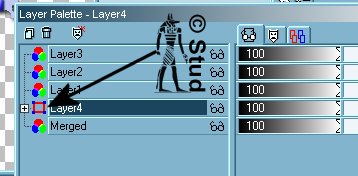
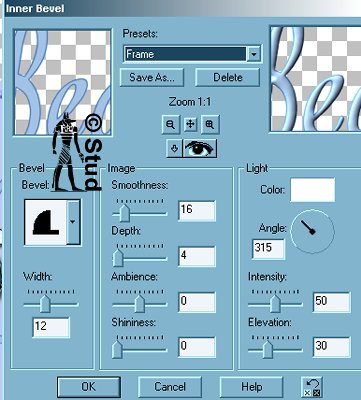
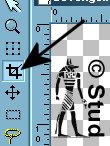
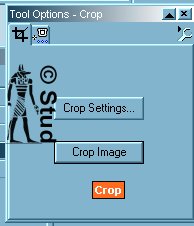
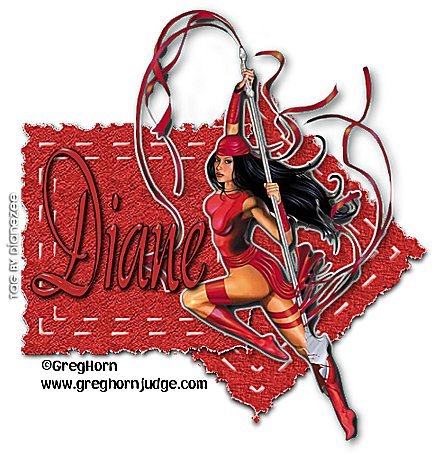
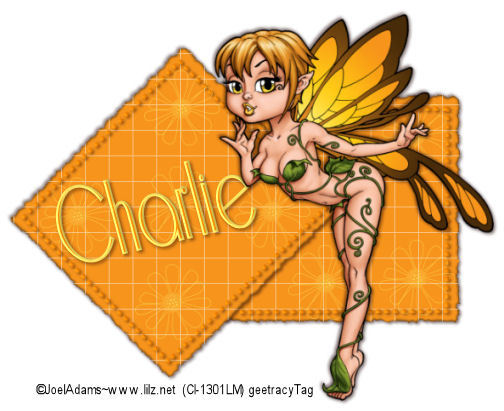
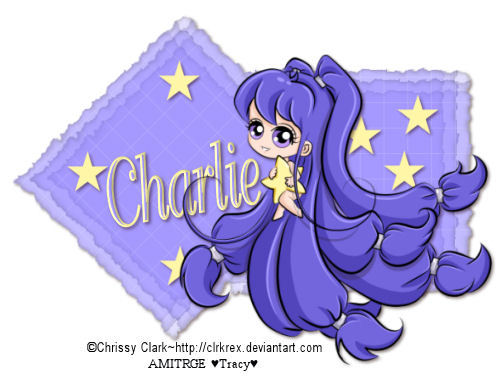
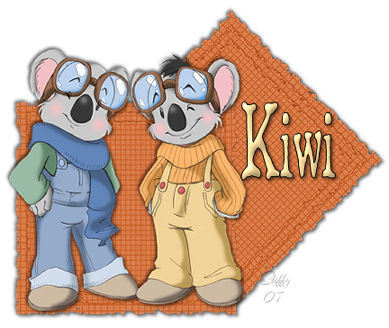
§tuds Basic Sigtag  This sigtag is very easy, no outside filters are used - those of you that are not beginners can add accents and use filters as I did at the alternative tags at the bottom of the page! It was written PSP7. I've added screenshots for pretty much every step for the complete beginner. This tutorial was written January 27th 2007. Please feel free to LINK to this tutorial and/or print it out for your personal use, but please do not copy it in anyway to put online, pass out or re-write without my permission Supplies A tube and font of your choice the supplies include the backgrounds and dotted lines and the font I used HERE download the tubes into your psp folder and the font into your fonts folder. This sigtag is very easy, no outside filters are used - those of you that are not beginners can add accents and use filters as I did at the alternative tags at the bottom of the page! It was written PSP7. I've added screenshots for pretty much every step for the complete beginner. This tutorial was written January 27th 2007. Please feel free to LINK to this tutorial and/or print it out for your personal use, but please do not copy it in anyway to put online, pass out or re-write without my permission Supplies A tube and font of your choice the supplies include the backgrounds and dotted lines and the font I used HERE download the tubes into your psp folder and the font into your fonts folder. 1. Open a new, blank image 600 x 600 pixels transparent image (16 million color depth). File > New > set size & set color depth. 2. Open the backgrounds tube and click on the layer color that you like. (apologies for my horrid spelling lol) 3. Edit > copy. Close the backgrounds tube and with your blank canvas in front, Edit > paste as new layer. Look down at your layer palette and right click on layer 2, select 'duplicate'. You'll see "layer 2 "and "copy of layer 2" now in the layer palette. Left click on "layer 2" to highlight it. 4. Click on Image > Rotate, click on 'left' and 'free' and type in 45 5. On the left side of your screen, click on the 4 way arrow , place your mouse over the rotated square on the tag. Click and hold down, then drag slightly to the left , place your mouse over the rotated square on the tag. Click and hold down, then drag slightly to the left 6. Open the dotted lines tube and click on the matching color, edit > copy. Close the dotted line tube. Make sure that the 'layer 2' is highlighted. Edit > paste as new layer. Click on it and drag over the top of the original colored square. Click on 'copy of layer 2' edit > paste as new layer again, then image > rotate and click ok. Drag this layer over the rotated square. 7. With the rotated lines highlighted - Effects > 3D effects > drop shadow with vertical and horizontal both set to 1, opacity ~ 100, blur ~ 2, color ~ black. Click onto layer 2 and repeat the drop shadow. 8. Right click on any layer on your layer palette and merge > merge visible 9. Effects > 3D effects > drop shadow, change the vertical and horizontal to 2, opacity to 75 and blur to 5 10. Open your tube, edit > copy (if you tube has a copyright do not close - just minimize) Edit paste as new layer on your tag. It now depends on the size of your tube, I had to resize mine by 75%, you may need more or less... the higher the the number the smaller your tube will be. Select bicubic resample and make suer that resize all layers are UNchecked and maintain ratio aspect is checked. 11. Add the same drop shadow as step 9. If your tube has copyright information to add, edit copy and paste as new layer onto your tag, click and drag to position and if necessary resize that too like step 10. 12. Click on the color selecter and move your mouse over your tube, left click on a dark color to get your foreground and right click on a lighter color to get your background. This is for your text. 13. Click on your merged layer on the palette. Click on the letter 'A' on the left side of your screen. Open the font you want to use and minimize it. Click onto your tag and the text dialogue box will show up. Make sure that create as vector and antialias are both checked. Type in the name you want, highlight the word and select your font with size set to 72. OK. 14. You will see the text has little squares around the edge. The center square moves the whole word, click on the bottom right square and hold down. Drag down and to the right slightly to enlarge the word. Resize and position until you're happy. 15. When you're happy, right click on the vector layer on your palette and convert to raster layer 16. Make sure your text layer is highlighted, effects > 3D effects > inner bevel, select the frame preset and use the default settings 17. Now you have a very large canvas with a smaller tag in the middle. Click on the crop tool and then click on the edge of your tag and holding down drag across the tag, you'll see a line appear around the edge. If it cuts pieces off that you do want, right click into the middle of the square and it will go away. Then try again! When the selection is right for you click on crop image in the tool option 18. If your tag is still too big for you, image > resize, click into the pixel size button and on the longest edge type in 400. Make sure that all layers is checked this time, keep everything else as it was the first time you resized. Click OK then save as a jpeg and you're done! Hope you enjoy the tut... any questions please ask on the main board... below are a couple of different versions. I added a valentine accent into the background on this one. On Kiwi's tag, I used Pentacom dot and cross filter on the backgrounds and added accents, I also used the Lokas Aqua filter on the text, so it doesn't have to be completely basic! If you would like the accents I used please let me know on the board. There are approx 8 different colors on these accents. Below are the wonderful creations devised from the Tags4Snags group who featured this tutorial as part of their challenge week. I would like to thank all those that allowed me to show their work in this tut and also the brilliant renderings of my very own §hed members  A DianeZee creation GeeTracy creations A Moonwhisper creation A Euka creation Bettys creations Sheros creation A Jackie Creation A Kia creation A Kiwi creation A Gypsy creation a really awesome one by Bear! | 
 Important Announcement