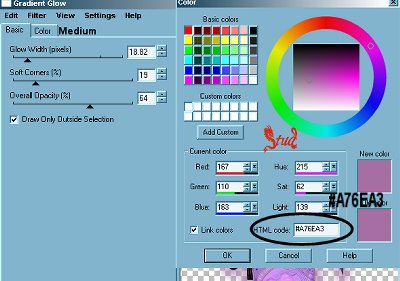
11a. For Eye Candy 4000 (eye candy 3.1 go to step 11b) click effects > plugins > Eye Candy 4000 > gradient glow: on the color tab select medium > color selected at #A76EA3 (or a nice color from your own tube, by clicking on the pipette then left clicking on a color on the
preview of your tube at the right of your dialogue box).
On the Basic tab use the settings:
glow width ~ 18.82
soft corners ~ 19
overall opacity ~ 64
draw only outside selection ~ checked
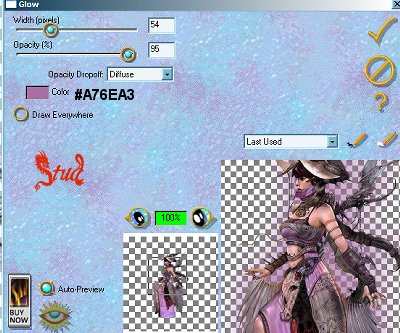
11b. For Eye Candy 3.1 click effects > plugins > eye candy 3.1 > glow > diffuse from the list and color set to #A76EA3, width ~ 54, opacity ~ 95
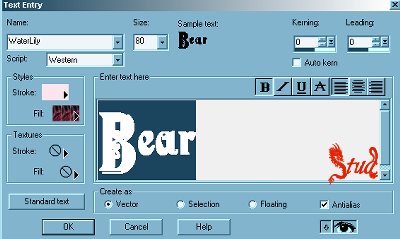
12. Open your font and minimize it, depending on the length of your text pick a size that suits, i used size 80, pick a pale color for your stroke from your tube and either a darker color or
select a piece from your tube to use as a pattern for a fill.
Vector checked and antialias checked. When you've used the nodes (white squares) to make your text bigger/wider/smaller
according to choice convert to raster layer and position where you want it, then effects > sharpen > sharpen more.
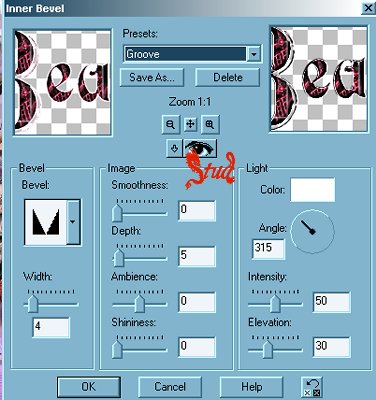
13. Add an inner bevel to the text > effects > 3D effects > inner bevel > using the default groove from the preset list
14. Add a drop shadow > effects > 3D effects > drop shadow >
settings:
vertical ~ -2
horizontal ~ -2
opacity ~ 50
blur ~ 5
color set to black ~ #000000
15. Add a new raster layer to add your watermark if you are using one and another for any copyright details, then layers > merge > merge visible... you can then buttonize it if you like ensure that your background color is set to a matching color before you click effects > 3D effects > buttonize using whatever
settings you like to suit your tag.
Then resize all layers with bicubic resample to a maximum of 400 x 400 pixels (less if you
prefer) and save as a jpeg.

 Important Announcement