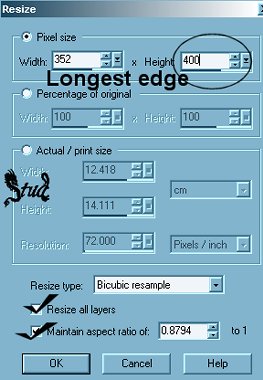
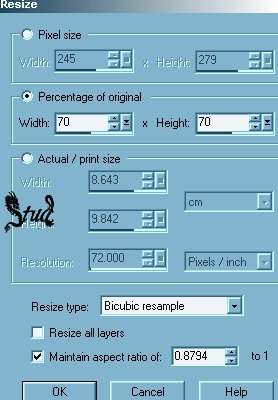
6. Resize your tube depending on the origianl size... if you are using mine I reduced it to a size of 70 x 70% and make sure that resize all layers is UNchecked, maintain aspect ratio is
checked and bicubic resample is selected
7. Click on Layers > merge > merge visible
8. Now to use your mask, click on masks > load from disk, find the 2proud.msk in your list and double click on it (or click on it once and click on open). Go back and click on Masks > delete >
if it asks if you want to merge with the currant layer, click on yes.
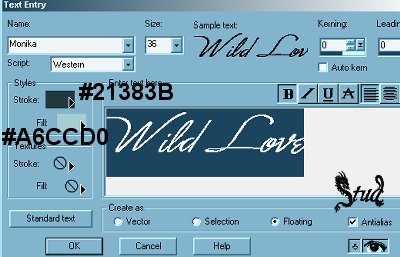
9. Add a new raster layer (right click on the layer palette and select new raster layer) for your text. Open your font and minimize it, click on the text button (the A), select 2 colors from
your tag, i used #21383B for my stroke and # A6CCD0 for my fill. Find your font in the list, then write in your text into the large white box, i chose the size of 36 but yours can be larger
or smaller depending on what you want to type. The bold needs to be checked as does antialias and floating. Position your text
and click on effects > sharpen > sharpen more
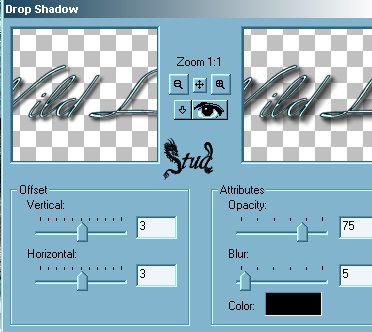
10. Add a drop shadow to your text, click on effects > 3D effects with the following settings:
vertical ~ 5
horizontal ~ -5
opacity ~ 75
blur ~ 5
color ~ black (#000000)
11. Add another raster layer for your watermark if you use one, or for any other text you wish to add (make sure each set of text is on a seperate layer). When you're done click on layers > merge > Merge all (flatten)
you can save your tag as it is just save it as a jpeg and you're done... if you prefer to make it look less flat you can buttonize it now
To Buttonize
12. Make sure your background and foreground colors are set to colors you like and that suit your tag... click on the color
selector (the pipette button) and right click on a color within your tag to pick a foreground and right click to select a background color
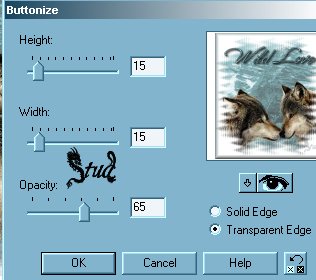
13. Click on effects > 3D effects > buttonize... the higher the width and height settings are the wider the button sides will be so i chose a low number of 15 on both, 65 on the opacity and
the transparent edge is selected
Now your done! Save as a jpeg and that's it!
I hope you enjoyed trying this tutorial and I look forward to seeing your own versions!
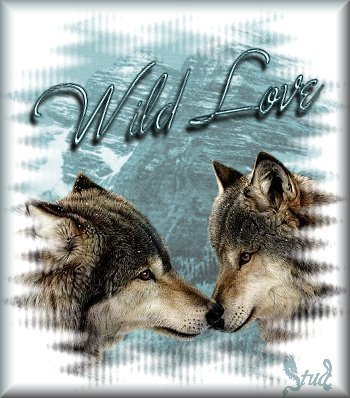
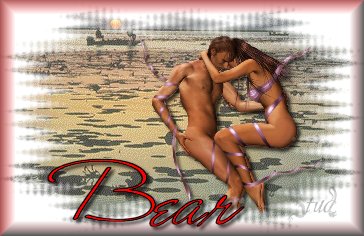
Here is one I made specially for Bear with a pic from her home town... I didn't colorize it i only reduced the opacity and used a different tube to which i added a shadow with the same settings as in the tut...
Have fun
§tud

 Important Announcement