This tutorial is my own creation, any similarity is purely coincidental! This tutorial was written November 18th 2006. Please feel free to LINK to this tutorial and/or print it out for your personal use, but please do not copy it in anyway to put online, pass out or re-write without my permission Supplies PSP Tubes and accents of choice 2 or 3 fancy fonts of choice Supplies HERE Including my 2 gradients, the inner bevel preset and the snowman font. Download the gradients to your gradient folder and the preset bevel to your presets folder There are no filters used unless you want them! This is a beginners/moderate tutorial. 1. Open a new, blank image 500 x 500 pixels transparent image (16 million color depth). File > New > set size & set color depth.
2. Make your foreground the candycanz gradient with the angle set to 45 and repeats on 4. Make sure the background is set to null.
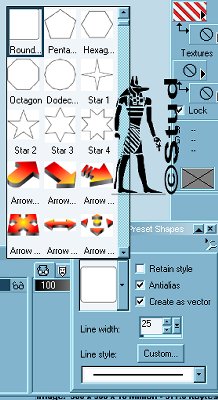
3. With your preset shapes opened, select the rounded rectangle, with the solid line set and width on 25, antialias and create as vector checked.
draw a square then resize as desired then convert to raster layer......
.
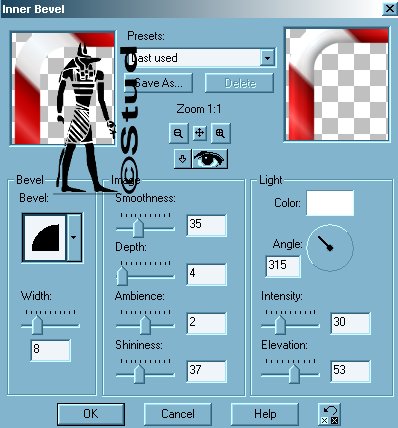
4. Effects > 3D effects > Inner Bevel > 10eBM preset with default settings
5. Select the magic wand and click into the inside of the frame, selections > modify > expand by 2. Add a new raster layer and drag it below your frame layer. Select the pale gradient (mine is chocolate ivy) and with layer 3 highlighted flood fill the selection. Keep it selected and duplicate this layer.
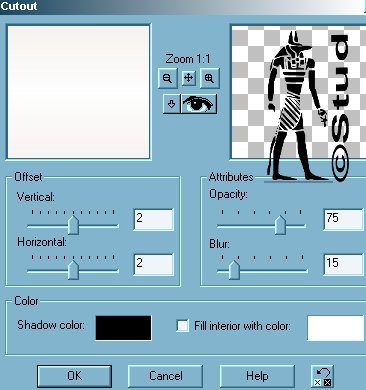
6. On the copy layer, effects > 3D effects > cutout with settings vertical and horzontal both on 2, opacity > 75, blue 15, shadow color lack and fill interior UNchecked. Then deselect.
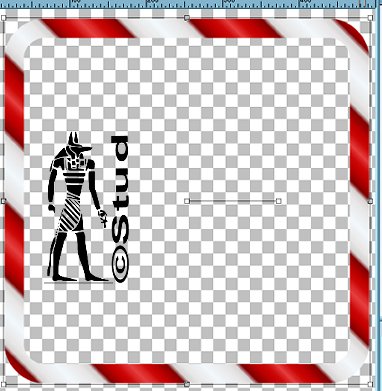
7. Open your main tube, copy and paste as new layer. Resize and position as desired, add any accents or other tubes as new layers and again resize and position as desired.
8. Select a color from your tag as your background and add your Merry Xmas or other message using one of your fancy fonts, make sure antialias and create as vector are both checked. Resize and position as desired and convert to raster.
9. Add a new layer for your watermark or brush and include any copyright information that is needed on a tube.
10. Open the PF Snowman_Citadel font and minimize it. Make black your foreground color and keep the same background color then type the first initial for your tag. Resize and position, rotating if necessary and then convert to raster layer. Add an inner bevel of choice, I kept to the 10eBM preset.
11. Open your fancy font again or choose a different one and add the rest of the name on the tag, resize and position then convert to raster. Add the Inner bevel to it. I also used Lokas Filter > Plastic on both of those layers for Bear's tag but nothing on Charlies or mine! SO it's up to you what you like to use at this point!
12. Merge > Merge visible. Resize so that the longest edge is no longer than 400 pixels and save as jpeg.
Merry Xmas, I hope you enjoy this tut!


 Important Announcement