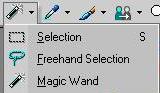
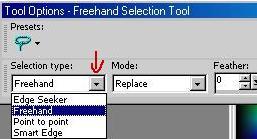
With the ants still selected, go to
‘Effects�?‘Distortion Effects�?‘Ripple�?[in PSP8]
or 'Effects' 'Geometric Effects' 'Ripple' in PSP7
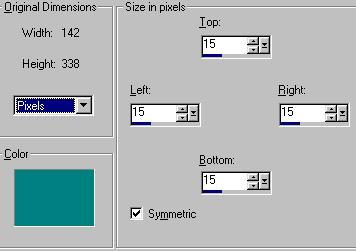
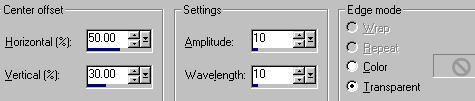
and set your settings to these........
‘OK�?it
Do not deselect, keep the marching ants.
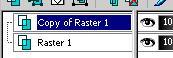
‘Layers�?�?Merge�?�?Merge all Flatten�?/FONT>
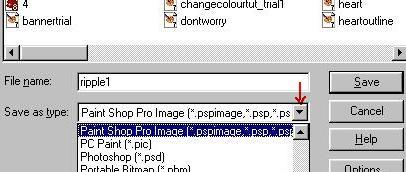
Go to ‘File�?and �?Save as�?Ripple 1, save as a�?Paint Shop Pro Image'.
*
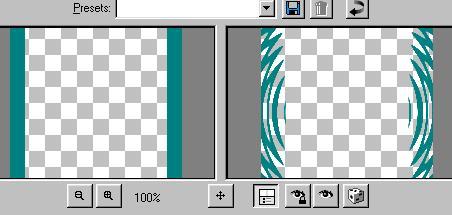
We are going to apply the ripple effect a further 3 times, [that’s 4 in total for the effect]...each time with a slightly different setting.
So, Ripple number2……�?.
Go to ‘Edit�?and ‘Undo Merge All�?/FONT>
‘Edit�?again and ‘Undo Ripple�? Keep the marching ants.
Go to ‘Effects�?�?Distortion Effects�?�?Ripple�?/FONT>
and change the setting of the ‘Wavelength�?to 11 , keep all the others the same.
OK
‘Layers�?�?Merge�?�?Merge All Flatten�?/FONT>
‘File�?�?Save as�?Ripple2, save as a �?Paint Shop Pro Image�?/FONT>
Ripple number 3……�?/FONT>
‘Edit�?�?Undo Merge All�?‘Edit�?�?Undo Ripple�?/FONT>
‘Effects�?�?Distortion Effects�?�?Ripple�?/FONT>
and change the setting of the ‘Wavelength�?to 12, keeping all the others the same.
OK
‘Layers�?�?Merge�?�?Merge all Flatten�?/FONT>
‘File�?�?Save as�?Ripple3, save as a ‘Paint Shop Pro Image�?/FONT>
Ripple number 4…�?
‘Edit�?�?Undo Merge All�?�?Edit�?�?Undo Ripple�?/FONT>
‘Effects�?�?Distortion Effects�?�?Ripple�?/FONT>
and change the setting of the ‘Wavelength�?to 13, keeping all the others the same.
OK
‘Layers�?‘Merge�?‘Merge All Flatten�?/FONT>
‘File�?�?Save as�?Ripple4, save as a ‘Paint Shop Pro Image�?/FONT>
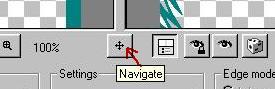
Now to animate.
Go to ‘File�?scroll down to �?Jasc Software Products�?�?Launch Animation Shop�?
Go to �?File�?and click on �?Animation Wizard�?/FONT>
Check ‘Same size as the first image frame�?next
Check ‘Transparent�?next
Check ‘Centered in frame�?‘With canvas colour�?next
Check ‘Yes repeat indefinately�?‘How long for each frame…�?set to 30, next
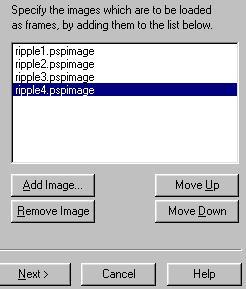
Click on ‘Add Image�?and locate your saved ripple files.
Click on �?Ripple 1�?and on ‘Open�?/FONT>
You will see its name appear in the window in the Wizard. Click add image�?again and click on and open ‘Ripple 2�?and so on for 3 and 4�?.Next�?.and Finish
Your frames will now appear, click on the ‘View Animation�?icon to preview 
Click it again to close the preview
‘File�?‘Save as a ‘CompuServe Graphics interchange [*.gif]


 First
First