Chilly Lilly Tutorial 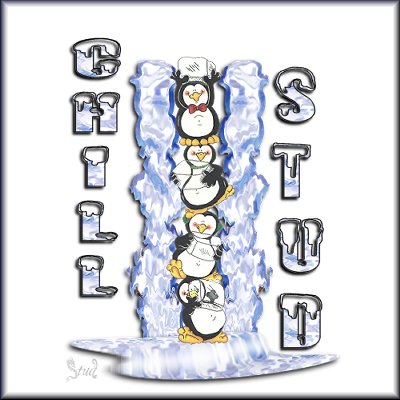 This tutorial is my own creation, any similarity is purely coincidental! This tutorial was written August 15th, 2004. Please feel free to LINK to this tutorial and/or print it out for your personal use, but please do not copy it in anyway to put online, pass out or re-write without my permission ©§tud This tutorial was written in PSP7 but will be tested in PSP8 soon! supplies
PSP
Redfield Water ripples freeware filter ... website here Eye Candy 4000
tube of your own or use mine
font of your choice or use mine website here
VM Filter Natural
Animation Shop zip file including 3 choices of font and the penguin tube... here
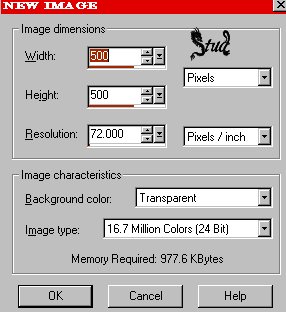
1. Open a new, blank image 500 x 500 pixels transparent image (16 million color depth). File > New > set size & set color depth
2. Open tube, copy and paste as new layer on the blank image
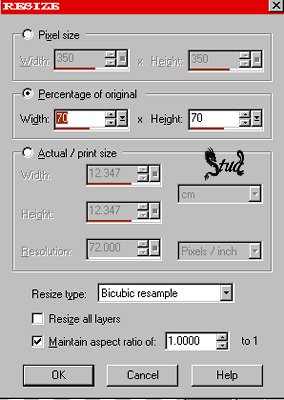
3. Resize by 70% bicubic resample
4. Duplicate the tube once, rename the copy penguin and then hide it by clicking on the sunglasses (or in PSP 8 the eye)
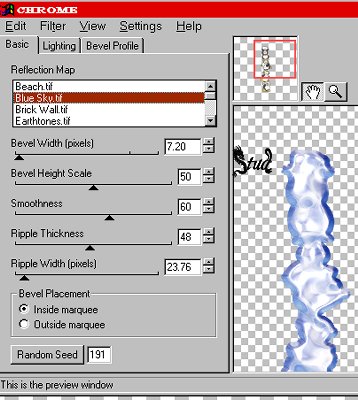
5. Highlight the original layer > Effects > Plugins> Eye Candy 4000 > Chrome - with Blue Sky tff setting
bevel width ~ 7.20
bevel height ~ 50
smoothness ~ 60
ripple thickness ~ 48
ripple width ~ 23.76
random seed ~ 191
Lighting:
direction ~ 119
Inclination ~ 58
brightness ~ 100
highlight size ~ 40
tint amount ~ 100
Bevel Profile:
Button bevel preset
sharp corner UNchecked
6. Move the blue chrome to one side slightly, then duplicate this layer > image > mirror... you can see if you've positioned your 2 chrome layers right by unhiding your penguin layer... they should just fit between the 2 chromed layers
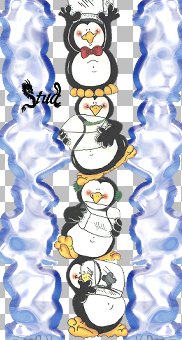
7. Rehide the penguin layer, make sure one of the 2 blue columns is highlighted > layers > merge > merge visible
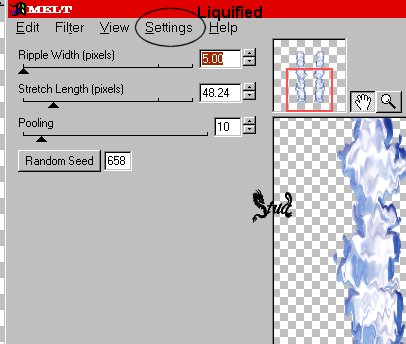
8. Go back to effects > plugins > eye candy 4000 > Melt > Liquified settings:
ripple width ~ 5.00
strength length ~ 48.24
pooling ~ 10
random seed ~ 658
9. Add a drop shadow > effects > 3D effects > drop shadow > settings:
vertical ~ 3
horizontal ~ -3
Opacity ~ 100
Blur ~ 5
color set to black ~ #000000

10. unhide the penguin layer, highlight that layer and add the same drop shadow to them... layers > merge > merge visible
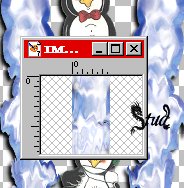
11. Click on the selection tool, with they type as rectangle and feather on 0 and select a part of the melted ice column - about as wide as you can get from one column > selections > convert to seamless pattern... this will open a 2nd window with your piece of "ice". Minimize this window
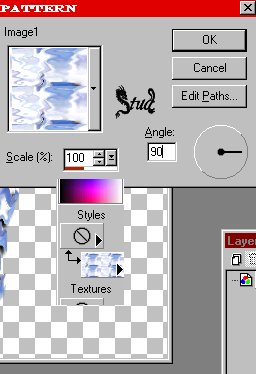
12. Set your foreground to null and select your "ice" pattern (image1 in the pattern list) with the angle set to 90 and scale to 100
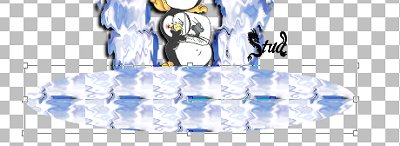
13. Click on your preset shapes button on your toolbar and select the elipse, with antialias and create as vector both checked, and draw a fairly long but thin elipse beneath your penguins so that it just about covers their feet... when you're happy with the size and shape, click on your layer palette and convert to raster layer
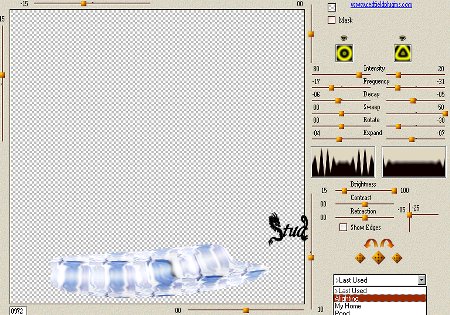
14. effects > plugins > redfield > water ripples with these settings (drag the little orange/brown boxes to change the settings):
select the alighting setting from the bottom right corner to begin with then change to these settings:
Intensity ~left side = 80, right side = 20
Frequency ~ left side = -17, right side = -31
Decay ~ left side = -06, right side = -05
Sweep ~ left side = 00, right side = 50
Rotate ~ left side = 00, right side = -30
expound ~ left side = -04, right side = -07
15. Add the same drop shadow to this layer and move it to suit your tag, layers > merge > merge visible
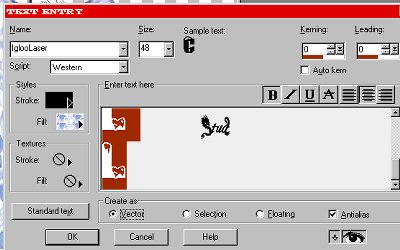
16. Open your font and minimize it, write your text vertically by hitting return on your keyboard after each letter... stroke color set to black (#000000), fill still set to you ice pattern, antialias and vector both checked, size 48... use the node boxes (the little white squares) to change the width and length and when you're happy, convert to raster layer on your layer palette
17. Add a drop shadow to your text with the same settings as before but change the blur to 3
18. To add more text continue as in step 16 and 17, once you're happy, layers > merge > merge visible
19. You may leave it then as it is... resize it so it's longest edge is no longer than 400 pixels and save as a jpeg OR continue and add some sparkle to your melting ice

 Important Announcement