MSN Home  |  My MSN  |  Hotmail
Sign in to Windows Live ID Web Search:   
go to MSNGroups 
Free Forum Hosting
 
Important Announcement Important Announcement
The MSN Groups service will close in February 2009. You can move your group to Multiply, MSN’s partner for online groups. Learn More
OurFamiliesAnchor[email protected] 
  
What's New
  
  OurFamiliesAnchor  
  Message Boards  
  General  
  NavigateTheBoards  
  Astronomy  
    
  Computer Tips  
  News & Family Events  
  Births  
  Deaths  
  Misc Events  
  Weddings/Anniver  
  Do It Yourself  
    
  Family History  
  Fun Stuff  
  Games  
  Geneology  
  Geneology Sites  
  HappyBirthday 2U  
  HOT Flashes FYI  
  Introductions  
  Jokes/Humor  
  Links  
  Medical Tips  
  MSN Spaces  
  Pictures  
  Poets & Writers  
  Points To Ponder  
  Recipes  
  Tarot Readings  
  
  
  Tools  
 
Do It Yourself : Iroquois House Remodeling Progress
Choose another message board
 
     
Reply
 Message 1 of 6 in Discussion 
From: MSN NicknameShylyQ  (Original Message)Sent: 4/15/2007 1:13 PM
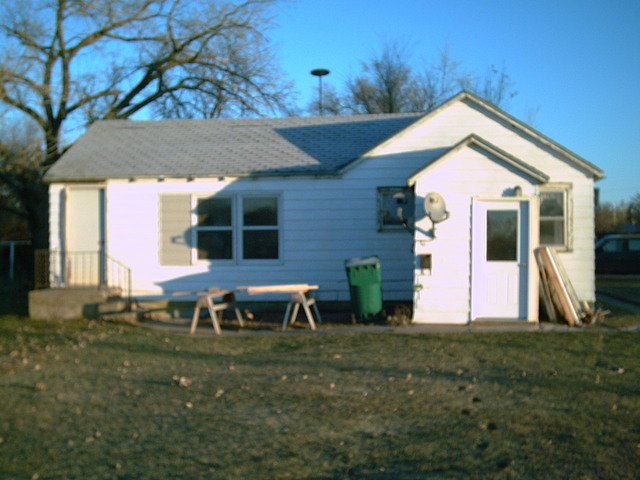
Well Annette and I have been here, in Iroquois for a year last month, and have been doing work on the house.
The progress up to now is mostly on this thread
 
 
Now it's time to start a new thread for this summers work.
I will try to keep up with pictures as I go along, but sometimes it's just easier to procrastinate....... you know me.
 
I have changed my mind on the plans so many times this last winter, I don't know where I left off ....... LOLOLOL
 
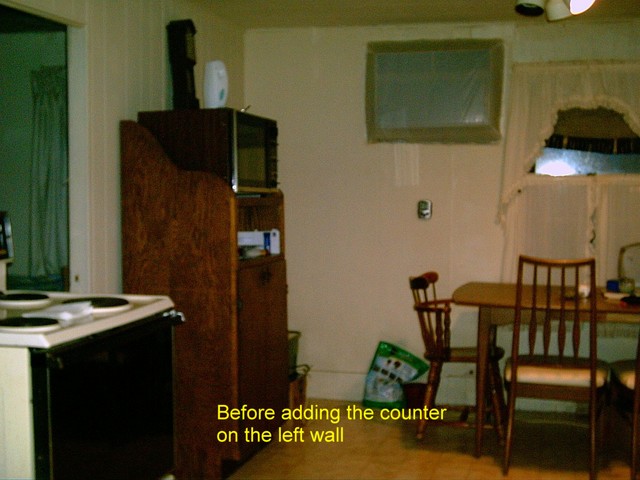
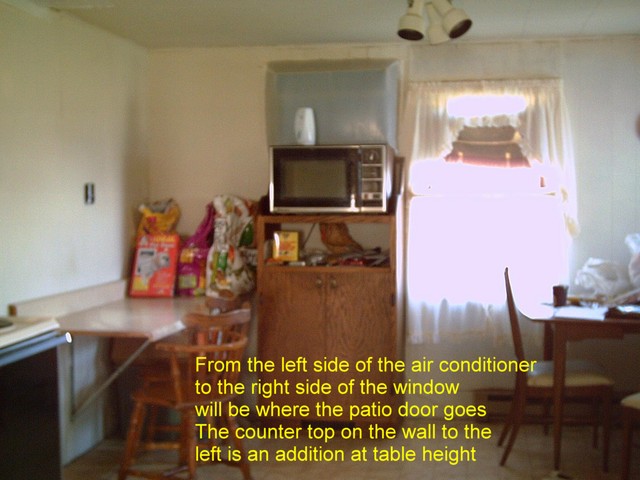
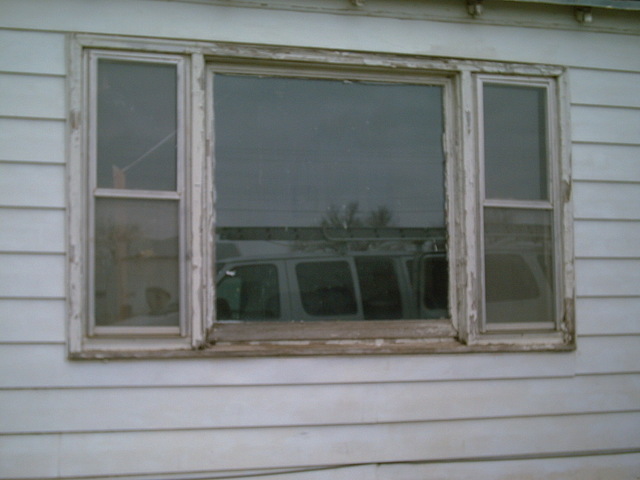
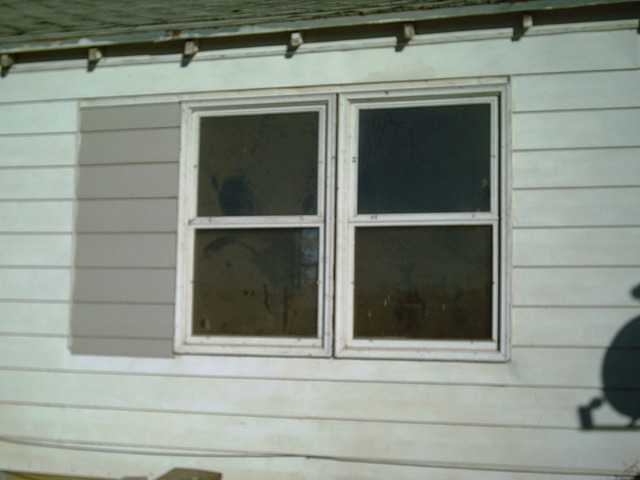
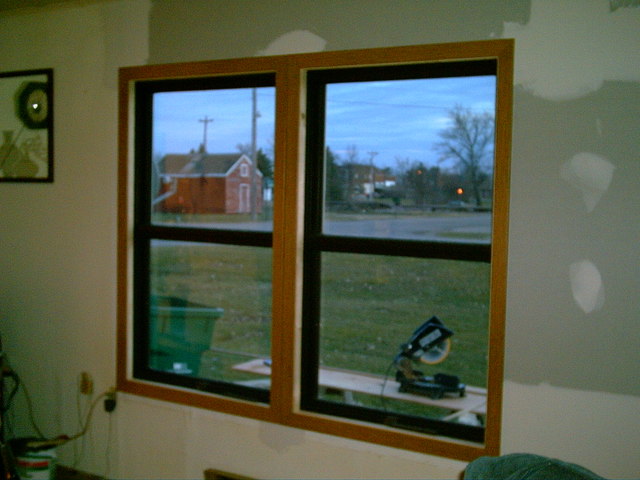
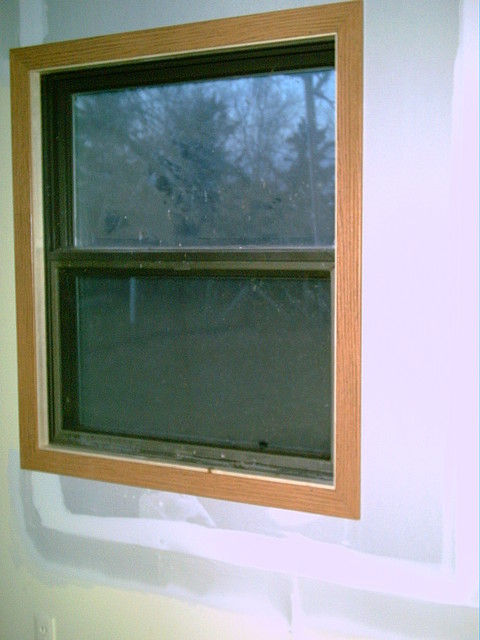
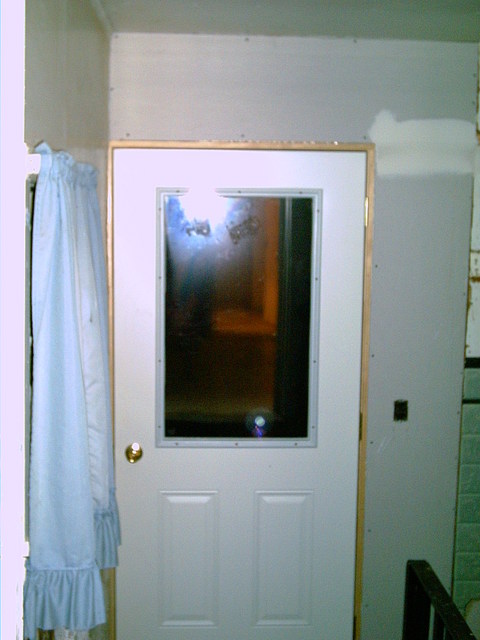
As of now, the plan is to put the patio door in the kitchen on the East wall. It will mean removing one baseboard heater.
Also, I plan to divide the living room and make a bedroom on the West wall, and that heater will become useful in there. There is already a heater in that area, but the kitchen one is smaller and will work out better.
 
I'll have to move the long one, on the south wall, farther to the east, (now under the windows in the living room), to make room for the bedroom wall, however. I'll need at least two more feet, so that shouldn't be too bad. There is a problem with that though.........
It's in the crawl space under the house, and I can't get in there.
I'm too fat.
So is the other heater (over the crawl space), but maybe I can get by with just using the existing wireing, and leave it hooked up with the thermostat with the living room heater, for now.
 
I'm always looking for ways to save on the work ya know
 
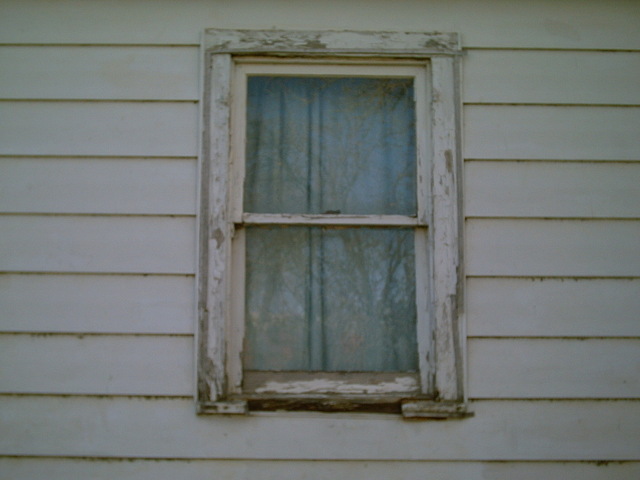
The patio door will be fairly easy to do, because it will mean using the space where there is now a window, and also taking up the space where the old air conditioner is. (that don't work and needs to come out anyhow) I'll need to put in a header and shore it up more, because it's on the load bearing wall, but that won't be too hard, will it? I will also have to wire in the lights and switch while it's a gaping hole.
 
More as I get to it...... I'll get some before pictures in here, then we'll see what happens later on. (maybe I'll change my mind again)
 
See you in the funny papers
Karen


First  Previous  2-6 of 6  Next  Last 
Reply
 Message 2 of 6 in Discussion 
From: MSN NicknameShylyQSent: 4/20/2007 4:38 AM
 
Here is what I've done so far this year
I've added a counter top to use as an eating area, and baking center. It's just attached to the wall with a couple of brackets until I decide if I want to make it permenant or take out the wall altogether.
 
I've started installing the doggie door, but the room is so small and the wall so white, all I got was flash back. It is in the laundry room anyway
 
Here are the kitchen pictures


Photo Sharing and Video Hosting at Photobucket


Photo Sharing and Video Hosting at Photobucket


Reply
 Message 3 of 6 in Discussion 
From: MSN NicknameShylyQSent: 4/23/2007 4:48 PM

This is the Doggie Entry way, on the north side of the house
that must be why it's so dark, and can anyone tell me why my
pictures are showing so almost 'blurry'?

I don't think I move..... maybe it's just that I don't know how to
operate a digital camera.

This is what I've been doing for all this time anyway.
I got the hole in the house and the framing of the doggie door in,
then Robbie came to help with the building of this entry,

then of course, Radar decided his 'spot' is at the corner of the roof,
and already has it sagging.  If he get's it sagging too much I'll just trim it off.
that'll fix 'im.     

Photo Sharing and Video Hosting at Photobucket


Reply
 Message 4 of 6 in Discussion 
From: MSN NicknameShylyQSent: 11/17/2007 11:09 AM
November 14th 2007 the weatherization process has begun.
He will be here at least 5 days doing repairs and insulating the house.
 
Ok here goes with the first Picture,
 
This is the old living room window, the Before Picture


Photo Sharing and Video Hosting at Photobucket


And here is the after Picture (from the outside)


Photo Sharing and Video Hosting at Photobucket


And here is the after Picture from the inside


Photo Sharing and Video Hosting at Photobucket


Reply
 Message 5 of 6 in Discussion 
From: MSN NicknameShylyQSent: 11/17/2007 11:13 AM
 
This set will be of the bedroom window (north side of the house)
beginning with the outside before picture


Photo Sharing and Video Hosting at Photobucket


This next one is the inside After Picture (I forgot to load the outside one in photobucket)


Photo Sharing and Video Hosting at Photobucket


Reply
 Message 6 of 6 in Discussion 
From: MSN NicknameShylyQSent: 11/17/2007 11:18 AM
 
And This is my new front entry door, of course it's exactly the same type of door that I had put in the back of the house.


Photo Sharing and Video Hosting at Photobucket


And the inside of the entry way now.......
He wasn't done when I took the pic, but it's done now.
It's really nice.


Photo Sharing and Video Hosting at Photobucket


Here is a full view of the front of the house now
(the bedroom is at the back of the house, and not visible in this picture)


Photo Sharing and Video Hosting at Photobucket

There will be more pictures as I get them.


First  Previous  2-6 of 6  Next  Last 
Return to Do It Yourself