| §tud's Negative Fairy Tutorial  Things you will need: Jasc Paint Shop Pro: HERE Faery Scroll Display Font: HERE (unzip to windows/font folder) *Or you may use a font of your choice* Redfield's Water Ripple (Freeware): HERE (unzip to plugins folder) Fairy Graphics (Pick one or both LOL) (right click on graphic and SAVE AS, to YOUR hard drive)  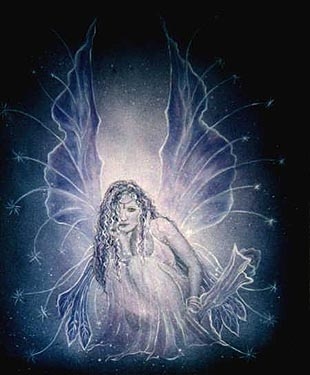
(*Optional) individual sparkle tube or VM Natural Sparkle: HERE (This is the entire set of VisMan Filters, unzip to plugins folder) OK Do you have everything you need? Have you downloaded, saved and unzipped all your supplies? Better grab a drink or something LOL Alrighty then, let's get started! Step 1: Open PSP. Then open your graphic. Click on Windows/Duplicate. Close out your original graphic. (You might want to use it again later.) Step 2: Click on your layers palette  Right click on "Background" and "promote to layer". Rename this layer "Fairy" by right clicking again/Rename. Right click on "Background" and "promote to layer". Rename this layer "Fairy" by right clicking again/Rename. Step 3: Click on Colors/Negative Image. This will turn your fairy dark and background light so your fairy is more visible. Step 4: Click on Effects/3-D Effects/Buttonize and use the following settings.
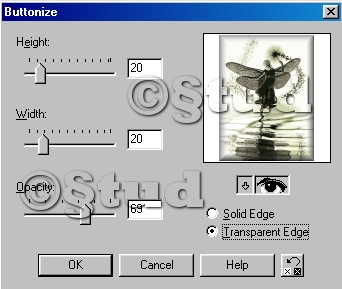
Height & Width: 20, Opacity 69% and Check the Transparent Edge box. Then Click OK. Step 5: Click on your layers palette and add a new layer. Click on "foreground" in the Styles and use the drop-down menu to choose a nice gradient. Set at Linear, angle 45% (for diagonally) and repeats 3. Click OK. Flood fill your new layer with your gradient using the flood fill (paint can) tool. Step 6: Go back and click on your layers palette. Right click on this gradient layer and duplicate. Turn off the "copy" layer, as we'll be working on the middle layer of your graphics image first. Step 7: Click on Effects/Texture/Texture. (see diagram) (If you hold your mouse over the texture box, it will tell you which texture it is. Using the drop-down menu, select the Crumpled Paper Texture. Then use the default settings but change Size to 50. Click ok. 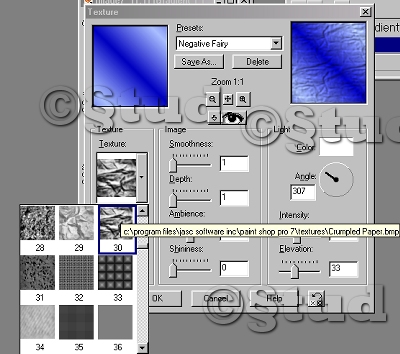
This will give our image a more "watery" texture to it later, as you will see. Click on your layers palette again, and use the Opacity slide (it says normal to the right of it) slide the opacity down to about 37. (You may want to adjust this to your liking later.) Step 8: We're getting there now. Click on Effects/3-D Effects/Buttonize, and buttonize this layer using the same settings we used earlier. Step 9: On your layers palette, turn on and highlight your TOP gradient layer. Click on Effects/Plugins/Redfield/Water Ripple. Using the drop-down menu on the lower right side (underneath the dice)~ use the preset "Alighting" and click ok. (For those with older versions of Redfield/Water Ripple...Pool works nicely too.) Can't see anything except your gradient layer with the water ripples, right? That's ok, we're about to fix that right now. Step 10: Go back to your layers palette again and slide the opacity of THIS layer down to roughly 17. Adjust it to your liking. But remember that a bit of the crumpled paper textured layer below needs to show through a little so it looks more watery. When you have all your layers to your liking, Right click on a layer and click on Merge/Merge All (flatten). Pretty huh? Step11: Add your favorite font style & color. Add your sparkles if you like. Animate it or save it as a jpg. (Saving as jpg is smaller file size than that of a gif) Voilà! we're finished! 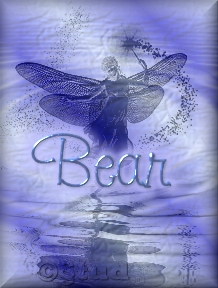 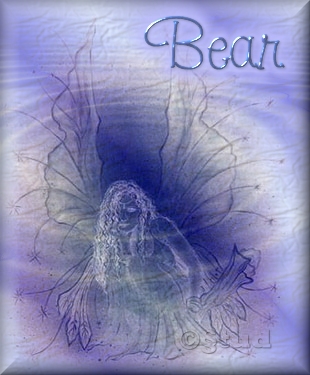
Tutorial by §tud, written by ßéar for §tud. Any resemblence to any other tutorial is purely coincidental as this tutorial is a creation from §tud's own mind and psp experience. Graphics groups wishing to use a URL link may do so without prior written consent. Any other use, copying, & pasting, sending through email & groups (except when url link is used), etc, is strictly prohibited. Page created and designed by ßéar for §tud's tutorial, May 25, 2004. Graphics are the property of ßéar & §tud and may not be taken and/or used without their consent. We do not claim © or ownership to the fairy graphics used for this tutorial. Anyone claiming ownership and NOT wishing their graphic to be used may write either §tud or myself and after proving rights of ownership to this graphic, will have it removed. | 
 Important Announcement
