Spiked Hunny Tutorial  This tutorial is my own creation, any similarity is purely coincidental! This tutorial was written August 14th, 2004. Please feel free to LINK to this tutorial and/or print it out for your personal use, but please do not copy it in anyway to put online, pass out or re-write without my permission ©§tud This tutorial was written in PSP7 but works in PSP 8 Supplies: PSP A tube of your own choice or use mine with the proper copyright details ~ (I have since removed the original tag as it was to a GILD artist- and replaced it with a non © [that i know of!] artist) Unless you have a licence to use Sperlonga artwork please use a different tube! Alligator Puree Font HERE or see the website HERE Carrdingbats1 font HERE or look at the website HERE Filtor Factory M HERE I have put a choice of fonts other than Alligator Puree or you can use your own favorite!
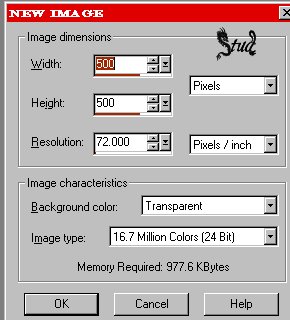
 1. Open a new, blank image 500 x 500 pixels transparent image (16 million color depth). File > New > set size & set color depth
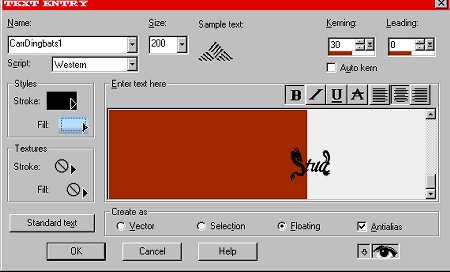
2. Open the Carrdingbats1 font and minimize, click on the text button and click on the blank image, I used the upper case M, size 200 with black stroke (#000000) and a pale blue gradient fill (or choose your own fave colors), 30 Kerning, floating and antialias both checked
3. Selections > select none... duplicate and hide the copy by clicking on the sunglasses on the layer palette (click on the eye if you're using PSP 8)
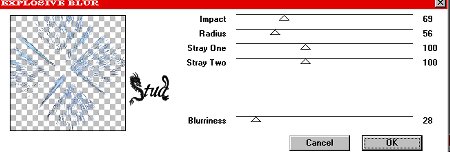
4. Effects > plugins > filter factory M > explosive blur with the following settings:
impact ~ 69
radius ~ 56
stray one ~ 100
stray two ~ 100
blurriness ~ 29
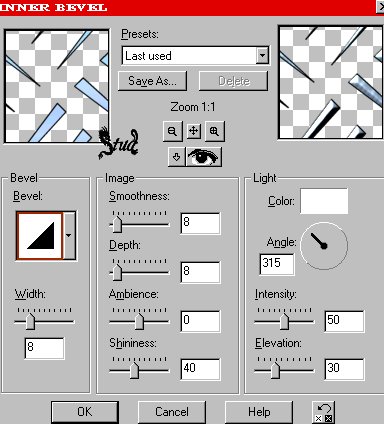
5. Unhide copy and make sure the layer is highlighted, selections > select all > selections > float
6. Effects > 3D effects > inner bevel > angled with default settings
 7. Effects > 3D > drop shadow settings:
vertical ~ 3
horizontal ~ -3
Opacity ~ 100
Blur ~ 8.9
color set to black ~ #000000 
8. Selections > select none
9. Open your tube, copy and paste as new layer on your spikes and then image > Resize by 90% using bicubic resample from the drop down menu and make sure the resize all layers is unchecked and maintain aspect ratio is checked and position where you feel suits your tag
10. Effects > 3D effects > drop shadow using same settings as step 7
11. Add a new raster layer for text, minimize the Alligator Puree font, this font uses upper case only, size 85, use colors from your tube, kerning 95, leading 0, floating and antialias both checked
12. Place in position, effects > 3d effects > inner bevel with the same angled settings as on step 6 and add a drop shadow with the same settings as step 7, selections > select none
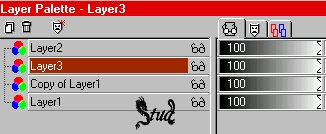
13. Click and drag the layer 3 under layer 2
14. Add a new raster layer to add your watermark or brush, then add another to put any copyright details on, then layers > merge > merge visible... buttonize if you want then resize to a maximum of 400 pixels on it's longest side... although i made mine 350
save as a jpeg hope u enjoyed the tut Many thanks to ßear for trying it in PSP 7 and to Charlie for trying it in both 7 & 8! And many thanks to Gothika for trying it in PSP9! here is her result 

 Important Announcement


