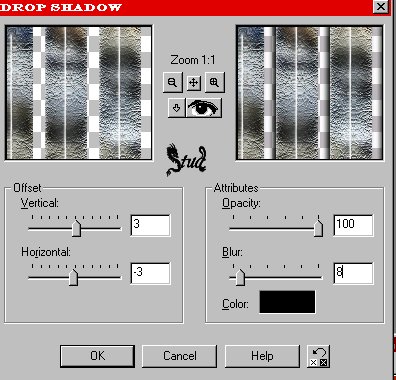
Tiger Stripes page 2 6. Add a shadow between the bars, effects > 3D effects > drop shadow with settings: vertical ~ 3, horizontal ~ -3, opacity ~ 100, blur ~ 8, color set to black #000000
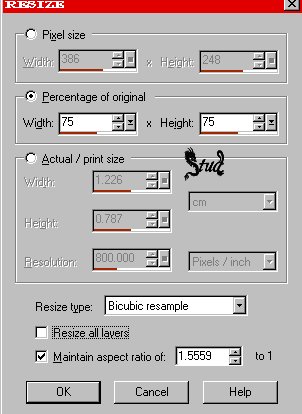
7. Open your tube, copy and paste as new layer on top of your bars and resize by 75%, with bicubic resample selected, maintain aspect ration checked and resize all layers UNchecked. Then move it to where it suits your tag.
8. Add a drop shadow with the same settings as before onto the tube
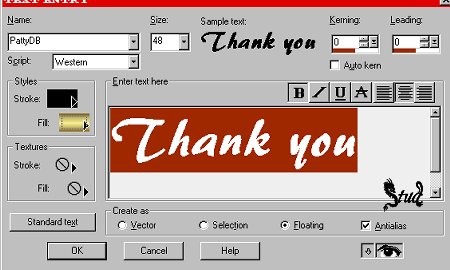
9. Add a new raster layer for you text, open your font and minimize it. Add your text, I used the font Patty DB Normal, size 48 with a black (#000000) stroke and a gold gradient fill... or for your own touch choose your own colors to suit your tag... make sure anitalias and floating are both checked
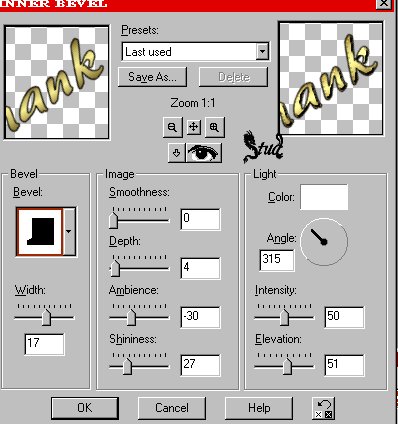
10. With the text layer highlighted, click effects > 3D effects > Inner bevel with the following settings: soft edge preset, width ~ 17, smoothness ~ 0, depth ~ 4, Ambience ~ -30, shininess ~ 27, color set to white #FFFFFF, angle ~ 315, intensity ~ 50, elevation ~ 51
11. Add a drop shadow to the text with the same settings as the others, but change the blur to 5.
12. Selections > select none
13. Add a new raster layer to add a watermark if you have one
14. Layers > Merge > merge visible
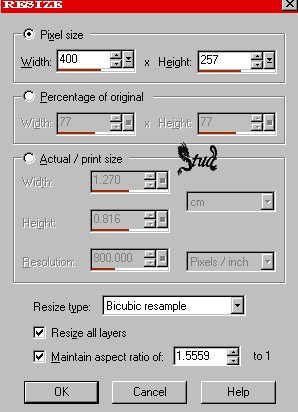
15. Resize your finished image... image > resize > pixel size 400 at its longest edge, with resize all layers and maintain aspect ratio both checked and bicubic resample selected
16. Save as jpeg

Hope you enjoyed this tutorial!
to see different results of this tut click HERE ©§tud
 Important Announcement